To get started with the Raspberry Pi, here are the things you'll need for your first Raspberry Pi build.
Table of contents
Introduction
Although the Raspberry Pi comes with all the required features onboard, there are still additional requirements to make it power up and boot into a fully functional computer. This post lists and introduces the 7 requirements you will need for your first Raspberry Pi build. It also lists 3 optional requirements.
When it comes to your first Raspberry Pi build, various kits are available, but parts can be obtained individually. Both options will be discussed.
- Get the Raspberry Pi 4B 4GB Starter Kit from Amazon.com
- Get the Raspberry Pi 4B 8GB Starter Kit from Amazon.com
The Raspberry Pi board
At the time of updating this post, there are a couple of Raspberry Pi models and versions available. The latest addition is the Raspberry Pi 4 Model B released in 2019. New models will be added from time to time.
Models can be categorised into the Raspberry Pi A-models, B-models, Compute Models and the Raspberry Pi Zero-models. Versions include version 2 (2015), version 3 (2016) and version 4 (2019).
All the Raspberry Pi B/B+ Models have more or less the same form factor and are about the size of a credit card. All the newer ones also have Ethernet connectivity. I would recommend going with the newest B-models.
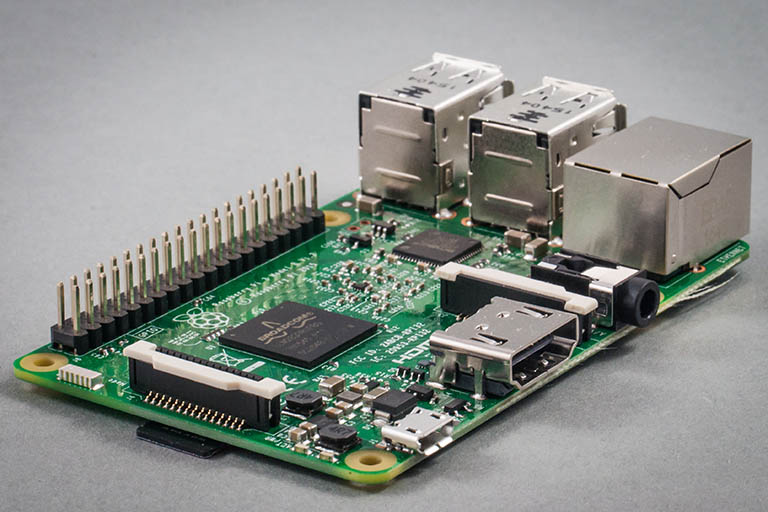
The Raspberry Pi 3 Model B is one of the older additions to the Raspberry Pi family. Image Sven.petersen (CC BY-SA 4.0).
- Get the Raspberry Pi 2B from Amazon.com
- Get the Raspberry Pi 3B from Amazon.com
- Get the Raspberry Pi 3B+ from Amazon.com or BangGood
- Get the Raspberry Pi 4B from Amazon.com or BangGood
Power supply (power adaptor)
All Raspberry Pi boards need a 5V DC power supply. Important factors when choosing the right power supply include the plug type, connector type and the amount of amperage it can supply.
Plug type
The type of plug used will depend on the wall socket and the country where it is used.
Plugs are typically marked US (United States of America), EU (Europe), AU (Australia), etc. South Africa uses EU standards. Some power supplies, like some of the official Raspberry Pi power supplies, will have plug-type adapters. Wall socket adaptors can also be used in some countries.
Apart from being able to connect to the wall socket, the plug type will usually correspond to the voltage output of the wall socket (~110V or ~220V).
Connector type
The connector type is the type of connector the Raspberry Pi board has for the power supply to connect to. The Raspberry Pi 2 and Raspberry Pi 3 models use a Micro-B USB connector. Raspberry Pi 4 models use USB-C connectors.
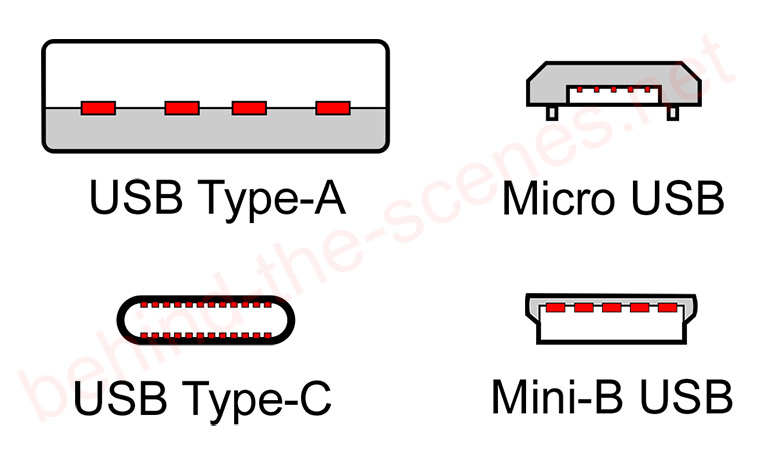
The Raspberry Pi 2 and Raspberry Pi 3 models use a micro-B USB connector for their power input. The Raspberry Pi 4 uses USB Type-C.
Power output
The amperage (amps in short) will determine the amount of power (in Watts) that can be delivered to the Raspberry Pi. The total amperage required depends on what, and how many, peripherals are hooked up to the Raspberry Pi.
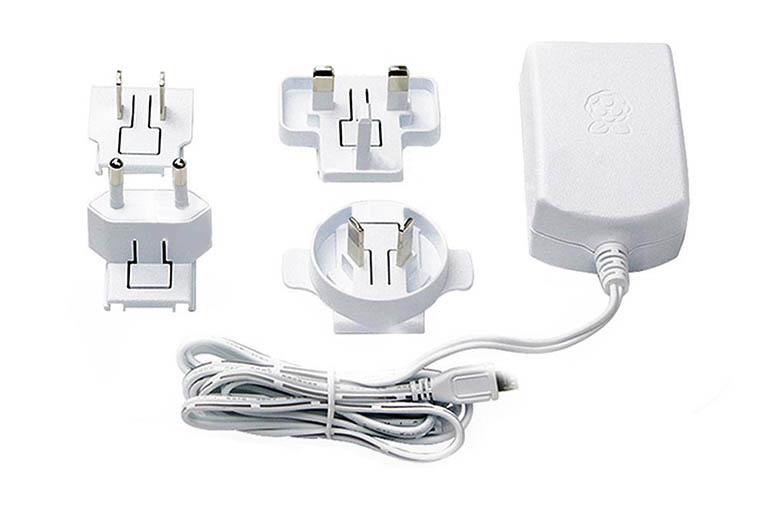
An official Raspberry Pi power supply with a micro-USB plug. This power supply is capable of supplying 5V DC & 2.5A of power. It had various plug-type adaptors to make it more universal.
The Raspberry Pi foundation recommends a power supply that is capable of supplying at least 1.2A (1 200mA). More power is better. Power supplies that can supply 2-3A are popularly used, especially when USB peripherals are connected.
MicroSD card
As with all computers, the Raspberry Pi board needs primary storage space. This is where the operating system (see later) and files are stored. The Raspberry Pi comes standard with a MicroSD card slot.
The guys at RaspberryPi.org recommend a MicroSD card with at least 8GB of space. 16GB and 32GB MicroSD cards are also available but come at a higher price.
Smaller operating systems, such as RetroPie can be installed on a 4GB card, but more is better. Larger SD cards will allow additional storage on the Raspberry Pi.
Irrespective of the size of the MicroSD card, it is recommended to get hold of the fastest card available, e.g. Class 10 or faster.
Because MicroSD cards are fairly cheap and easily interchangeable, it is recommended to get a few at the same time.
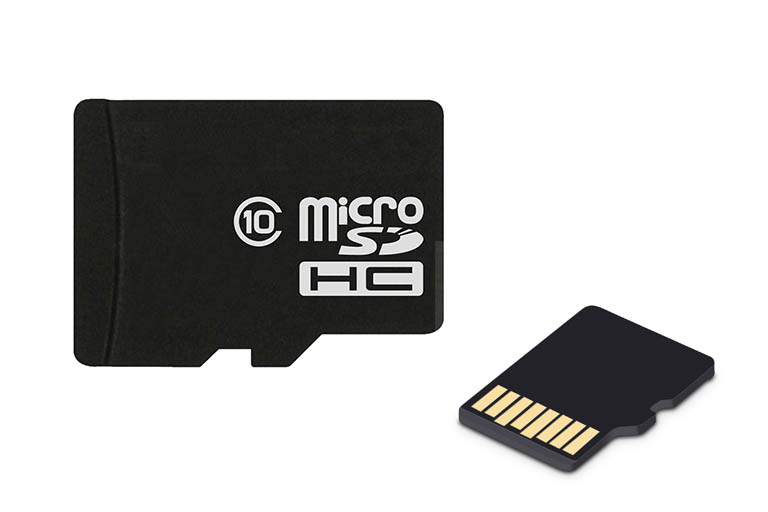
MicroSD cards come in many shapes and sizes. Try to get the fastest speeds and at least 8Gb of storage. Well-known brand name MicroSD cards are of better quality.
Online shops, such as Amazon.com, often have great discounts on MicroSD cards under their camera sections. Although not always the case, BangGood might have some deals on generic MicroSD cards that are worth their price.
- Get the SanDisk Ultra MicroSDHC Memory Card (various sizes) from Amazon.com
- Get the SAMSUNG MicroSDHC EVO Memory Card (various sizes) from Amazon.com
Additional space can be added later by connecting the Raspberry Pi to a local network or by connecting a USB drive to one of the USB ports.
MicroSD card reader
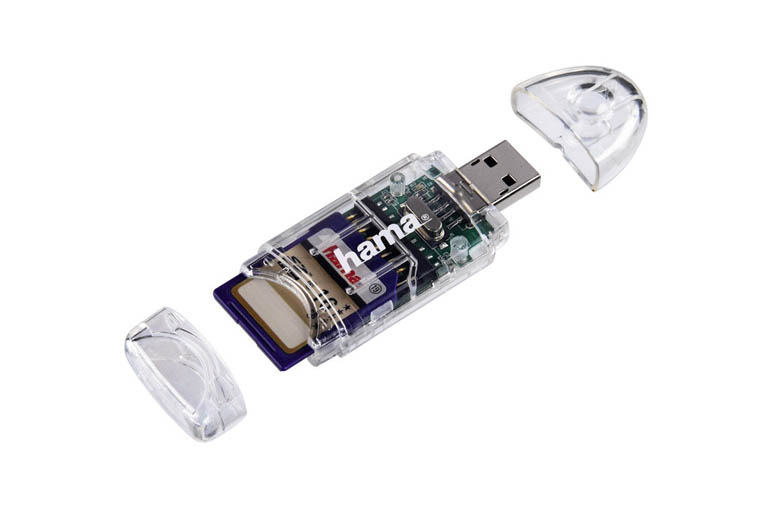
A MicroSD card reader is needed to copy the operating system from a PC onto the MicroSD card. Card readers are also typically used to transfer photo files from a camera to a desktop. If you don’t already have a built-in card reader on a desktop or laptop, you will need an external card reader.
External SD card readers are connected to a desktop/laptop via one of the USB ports. If used correctly, the desktop operating system will connect the card reader as one of its drives.
There are many options available. Some card readers will only be able to read SD/MicroSD cards, while others have slots for a variety of card sizes. Some Raspberry Pi Kits will include a MicroSD card reader.
Operating system (OS)
The Raspberry Pi board will need commands to function. The commands are determined by the operating system (OS) which is copied onto the MicroSD card.
Most of the popular operating systems are Linux-based, incl. Raspbian (now also known as Raspberry PI OS), OpenELEC, RetroPie, etc. Although there are many certified Raspberry Pi operating systems available, Raspbian is probably one of the better ones for beginners.
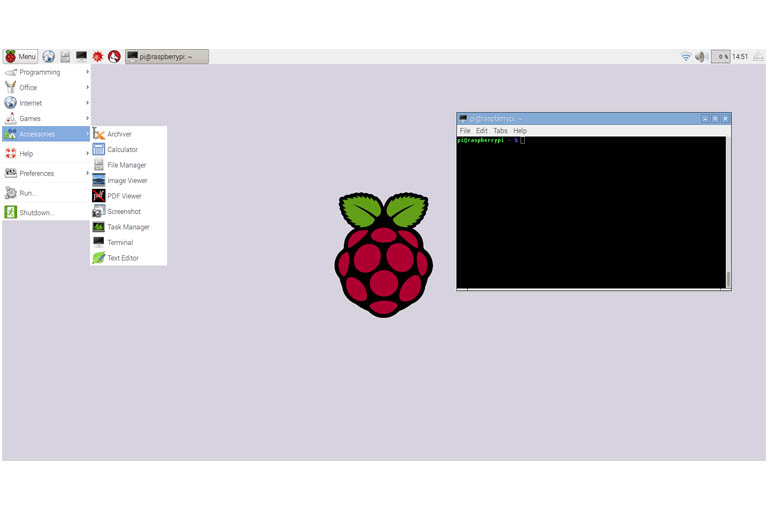
Stretch is one of the earlier versions of Raspbian and has a Windows-like, GUI & a terminal to send & receive commands. The latest version of Raspbian (2022) is Buster.
Most of the better, certified Raspberry Pi operating systems are open-source and free to download.
Generally speaking, operating systems are copied onto a MicroSD card as an .img file.
Keyboard & mouse
Peripherals, such as a keyboard and mouse, can be connected via the Raspberry Pi’s multiple USB ports. The most basic peripheral needed is a keyboard, but for graphic user interface (GUI) users, a USB mouse is also a must.
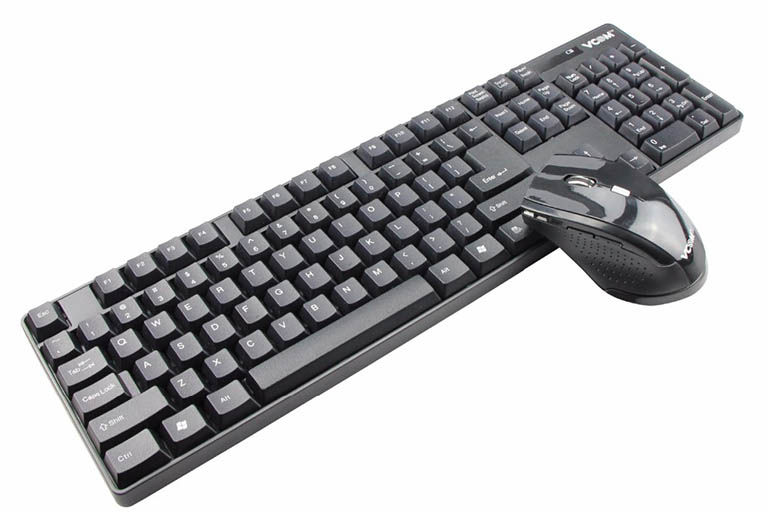
Any standard or wireless USB keyboard & mouse will be enough to connect to the Raspberry Pi’s USB ports.
Any new or old USB keyboard and mouse will do. Out of the box, the Raspberry Pi is also capable of using a wireless keyboard and mouse. These peripherals can be obtained fairly cheaply from Amazon.com or BangGood.
- Get the Corsair K95 RGB Platinum XT Mechanical Gaming Keyboard from Amazon.com
- Get the ROCCAT Burst Pro PC Gaming Mouse from Amazon.com
The HDMI cable & screen
From the second generation, the Raspberry Pi started using High-Definition Multimedia Interface (HDMI) ports. The Raspberry Pi 4B started using Micro-HDMI output. Starting with the second-generation Raspberry Pi boards, there is only a High-Definition Multimedia Interface (HDMI) connection port to connect to a screen.
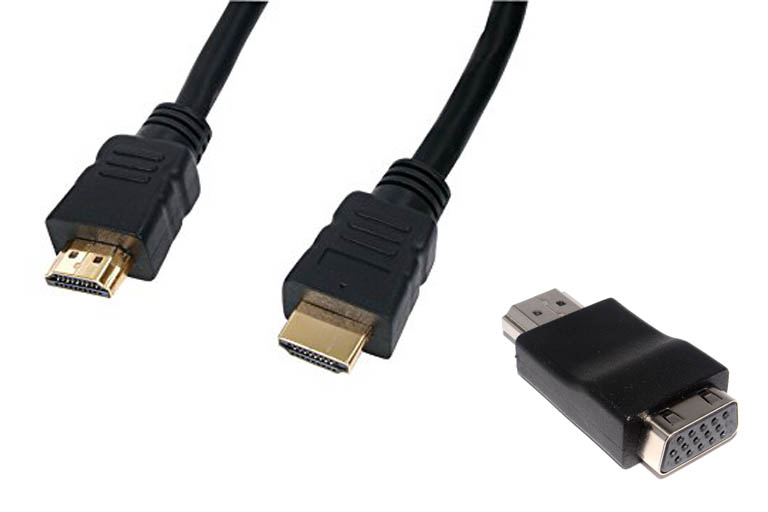
Most male-male HDMI cables will be enough to connect an older Raspberry Pi board to a screen. VGA converters are also available to be able to connect to some older screens.
The screen can be anything from an old PC monitor to a flatscreen TV. If a screen does not have an HDMI input, various connectors are available to make it work.
HDMI cables and screens are available from local PC shops, Amazon.com and BangGood.
- Get the LG 22MK430H-B 21.5″ Full HD Monitor from Amazon.com
- Get the High-Speed HDMI Cable from Amazon.com or BangGood
- Get the High-Speed Mini-HDMI to HDMI TV Adapter Cable from Amazon.com or BangGood
Optional requirements
While most of the Raspberry Pi’s functionality can be used with the previous requirements, there are some optional requirements. They include a network cable, a Raspberry Pi case and a USB Wi-Fi dongle.
Network cable
Being able to connect a Raspberry Pi board to a network (or the internet) significantly increases its functionality. Although, technically, not a requirement, it definitely comes highly recommended.
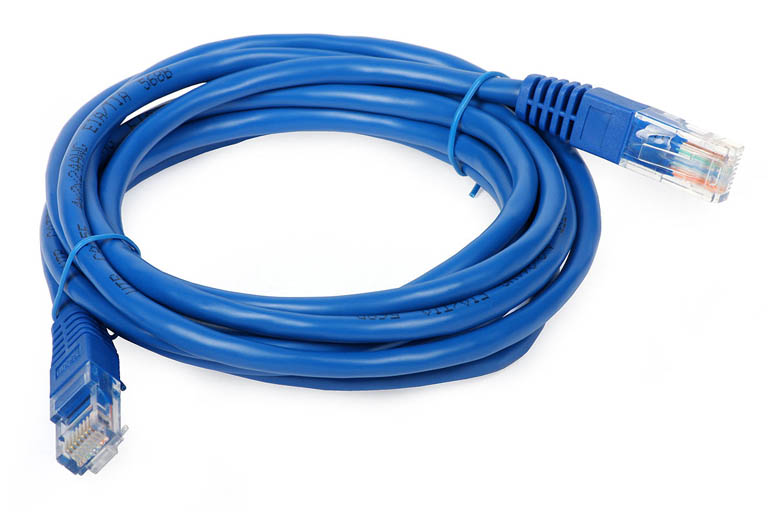
The Raspberry Pi has an Ethernet port, ready to connect to a local area network (LAN). A wired network will be faster and more stable when compared with Wi-Fi.
Any standard Ethernet cat5/cat6 cable can be used. Ethernet cables can either be bought as required or can be cut to length and assembled. Various types and lengths are available online from shops such as Amazon.com and BangGood.
The Raspberry Pi models 3 and 4 can also be connected to a Wi-Fi network in almost no time. Earlier models will need a USB Wi-Fi dongle (see later).
Raspberry Pi case
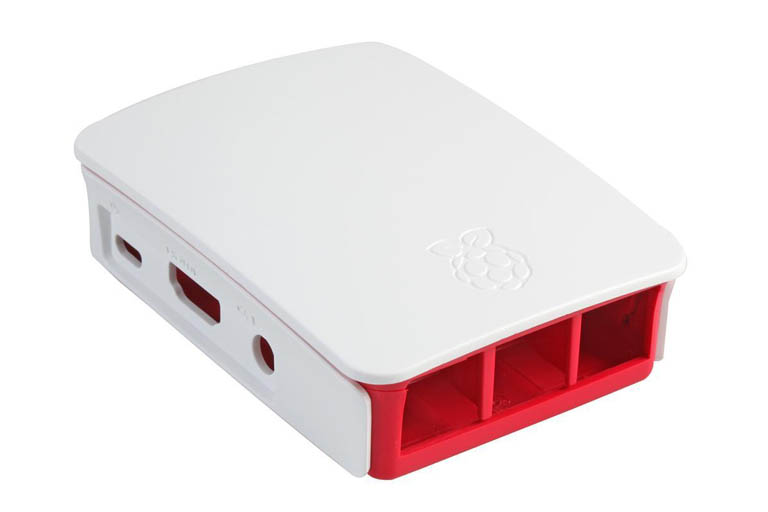
Just like any computer, the Raspberry Pi board needs some protection. Apart from this, the case is also something to show off with or to make the Raspberry Pi fit into its surroundings.
When it comes to Raspberry Pi cases, there are many types, shapes, colours and form variations available. One thing to look out for is to make sure the case is designed for the model used. Raspberry Pi Models B+, 2B and 3B/B+ can use the same case while Model 4B needs its own.
Get the GeeekPi DeskPi Lite Raspberry Pi 4 Case from Amazon.com
Amazon.com has a nice variation of Raspberry Pi cases available. Seeing that the Raspberry Pi case is generally just a piece of plastic, nice, cheaper generic cases can also be ordered from BangGood.
USB Wi-Fi dongle
In the case of a Raspberry Pi model 2B (or earlier), a USB Wi-Fi dongle can be used to connect wirelessly. Various USB Wi-Fi dongles are available and most of them should be compatible with the Raspberry Pi. Many generic Wi-Fi dongles are available at cheaper prices from BangGood.
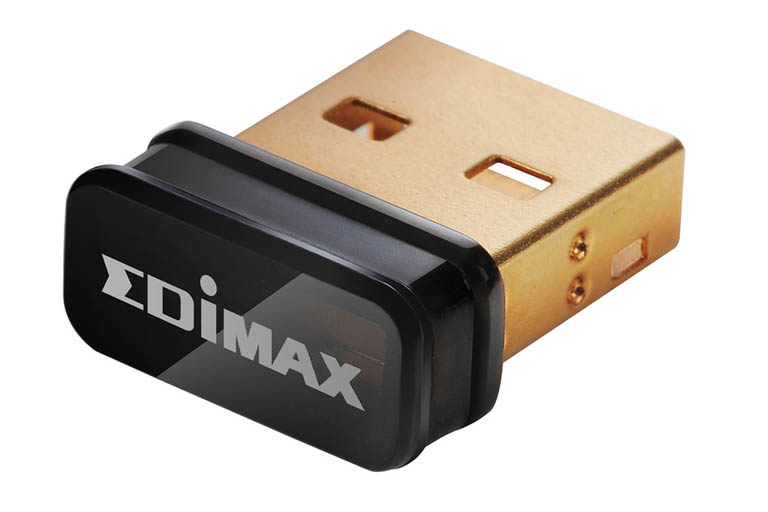
Edimax is a popular brand when it comes to USB Wi-Fi modules, but there are many others that are compatible with the Raspberry Pi.
- Get the TP-Link TL-WN725N USB Wi-Fi Adapter from Amazon.com
- Get the USB 2.0 Wireless Wi-Fi Adapter Dongle from BangGood
- Get the TP-Link Nano AC600 USB Wi-Fi Adapter from Amazon.com
The MicroSD card remover
The MicroSD card slot is where a MicroSD card containing the operating system (OS) is inserted. Up until the Raspberry Pi 2B this slot had a spring release (push-push) type slot, which apparently suffered from frequent problems. Although this was the case, the spring release made it much easier to remove the MicroSD card, especially when the Raspberry Pi is in certain cases.
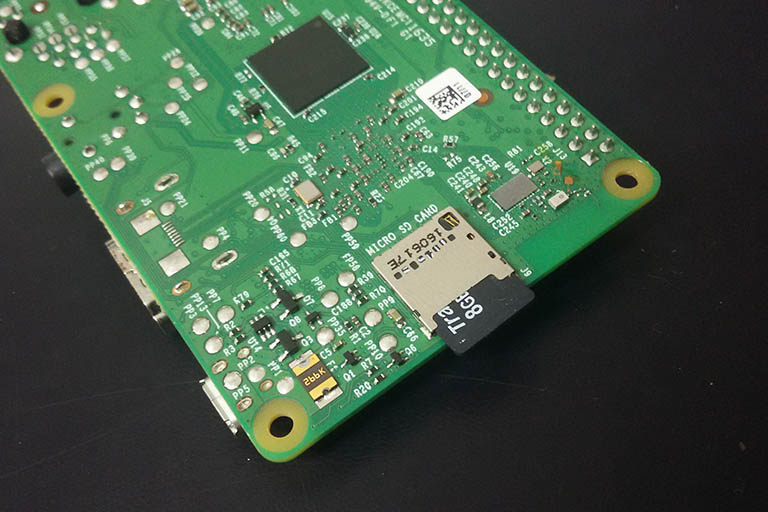
The Raspberry Pi Model B’s onboard MicroSD card slot is situated on the back of the board. Traditionally, the OS of the Raspberry Pi is installed on the MicroSD.
As of the Raspberry Pi 3 models onwards, the MicroSD card slot has been a friction-fit slot. Unfortunately, the friction fit slot can pose challenges to removing the MicroSD card, especially when the Raspberry Pi is in certain cases. The process of removing the MicroSD card from the newest Raspberry Pi slots can be made much easier by using a shart edge tweezer tool.
Raspberry Pi Kits
Various Raspberry Pi kits are available for those that want a quick all-in-one solution. Kits will at least include the major components such as a Raspberry Pi board, power supply, case, microSD card and HDMI cable.
- Get the Raspberry Pi 4B 4GB Starter Kit from Amazon.com
- Get the Raspberry Pi 4B 8GB Starter Kit from Amazon.com
Conclusion
New Raspberry Pi users can either start with a kit or collect individual parts separately. This post listed and discussed the individual requirements for your first Raspberry Pi build.


