The Arduino IDE is free software used for writing and uploading programming code to Arduino microcontrollers. Here we show how to install it on a Raspberry Pi.
Table of contents
Introduction
The Arduino Integrated Development Environment (IDE), or Arduino Software, is free software that is maintained by Arduino.cc.
It is a code editor for writing and uploading programming code to the Arduino and Genuino microcontroller boards which can be installed on a personal computer or run from their website. The Arduino IDE can also be used to program ESP8266-based microcontrollers.
Compared with Windows, Linux-based operating systems, such as the Raspberry Pi OS, offer a much more elegant solution for USB drivers. The Raspberry Pi OS have all the drivers pre-installed.
The Arduino IDE is available for all the major operating systems, but this post will show how it is installed on a Raspberry Pi 3 running the Raspberry Pi OS (formerly known as Raspbian). The Arduino IDE can be installed on Raspbian Jessie or later.
- Get the Raspberry Pi 4B 4GB Starter Kit from Amazon.com
- Get the Raspberry Pi 4B 8GB Starter Kit from Amazon.com
- Get the Basic Arduino Uno R3 Starter Kit from Amazon.com or BangGood
Assumptions and requirements
Fully functional Raspberry Pi 3B (or later) with a keyboard, mouse and screen running Raspbian Jessie. Later versions of the Raspberry Pi OS can also be used. A connection to the internet is required.
Things you’ll need for your first Raspberry Pi build
Basics of installing an operating system on a Raspberry Pi
Raspberry Pi First-time setup
Installing the software
To make sure the Raspberry Pi OS is up to date the update and upgrade terminal commands can be used:
sudo apt-get update
sudo apt-get upgrade
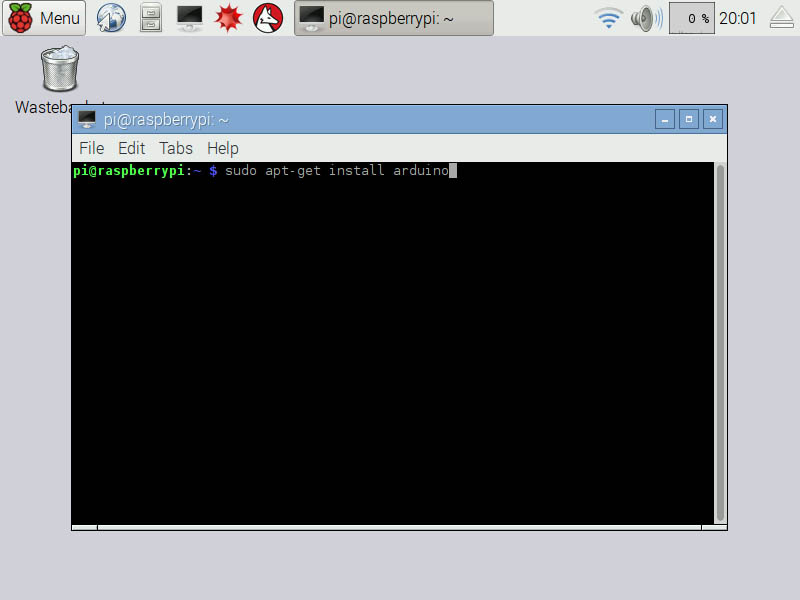
The Arduino IDE is installed using the apt-get terminal command:
sudo apt-get install arduino
To open the Arduino IDE on the Raspberry Pi OS, pull down the Menu and select Arduino IDE under Electronics.
Uploading the first sketch
After using the appropriate cable to connect the Arduino board to the Raspberry Pi, open the Arduino IDE.
To choose the type of Arduino board go to Tools > Board > and select the appropriate one. To select the port the Arduino is connected to, look under Serial Port under the Tools menu.
Example sketches are available from the Examples folder under the File menu. To test if everything is working choose Examples > 01.Basics > Blink. After pressing the Upload button (->) the Arduino’s onboard LED should start to blink on and off at one-second intervals.
The sketches directory
The default location for saved sketches is /home/pi/sketchbook. The libraries directory is also located here.
To make a quick backup of all the sketches including the sketches and libraries directories the cp terminal command can be used:
sudo cp -rp /home/pi/sketchbook /copy-to-directory
After a fresh Raspberry Pi OS install, this backup can be retrieved by using:
sudo cp -rp /copy-from-directory /home/pi
Conclusion
The Arduino IDE is the software required to program Arduino, Genuino and ESP9266-based microcontrollers. Here we showed how to install the Arduino IDE on a Raspberry Pi using the Raspberry Pi OS. When compared with Windows, the Raspberry Pi OS offers an elegant solution when it comes to its pre-installed USB drivers.


