

The latest Raspberry Pi comes equipped with onboard Wi-Fi and an Ethernet port. Establishing a network connection using Wi-Fi can be done in 3 ways.
Table of contents
Introduction
From a hardware point of view, using Wi-Fi connectivity offers more freedom, but is a little more complicated to configure when compared with a wired connection. Using an Ethernet cable will need no configuration and allows network connection with an automatically assigned dynamic IP address.
Using Wi-Fi will also assign a dynamic IP, but will need the network name (SSID) and the password (also called the passphrase or pre-shared key) of the wireless network.
This post will show how to configure a wireless network connection using the Raspi-config tool (Raspbian Stretch and newer), the Raspbain GUI (Raspbian Jessie and newer) and terminal commands (all versions). It will also show how to remove the settings again. In addition to this, Wi-Fi connectivity can also be configured while installing the Raspberry Pi OS to a MicroSD card using the Raspberry Pi Imager tool.
- Get the CanaKit Raspberry Pi 4B 8GB Starter Kit from Amazon.com
- Get the GeeekPi Raspberry Pi 4B 4GB Starter Kit from Amazon.com
- Get the TP-Link TL-WN725N USB Wi-Fi Adapter from Amazon.com
- Get the TP-Link Nano AC600 USB Wi-Fi Adapter from Amazon.com
Testing the network connection
Before or after the chosen method, an IP address will indicate that the Raspberry Pi is connected to a local network. To get the IP address, use the following command in the terminal:
hostname -I
The simplest way to test whether the Raspberry Pi is connected to the internet is by using the ping terminal command:
ping -c 5 google.com
Configuring the Wi-Fi settings using the terminal
The Raspberry Pi 3’s Wi-Fi settings can also be configured using terminal commands. This method is the most accessible way, but also the most complicated. It offers a few more options when compared with the other options.
The Linux terminal is accessible on all versions of Raspbian, either from the boot sequence or from the terminal icon at the top of the GUI.
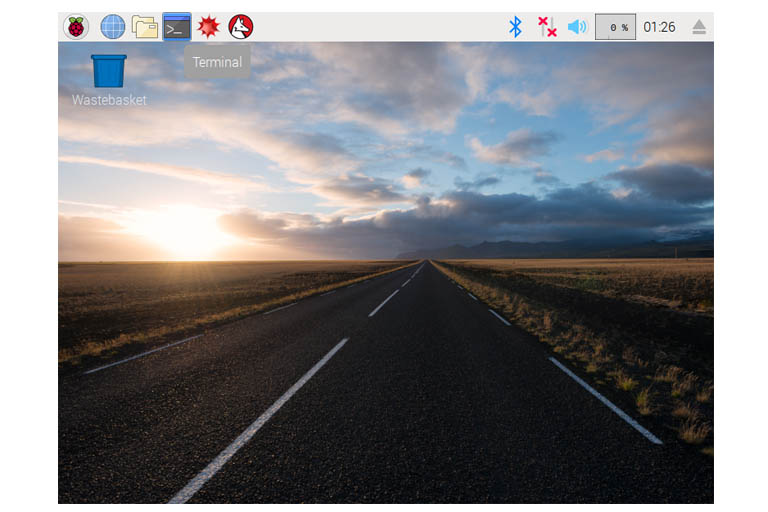
To access the terminal from the Raspbian Stretch’s GUI, use the terminal icon on the top right of the screen. Raspbian Jessie is the same.
The configuration settings for wireless connectivity are stored in the wpa_supplicant.conf file. To make a backup of the original file use:
sudo cp -p /etc/wpa_supplicant/wpa_supplicant /etc/wpa_supplicant/wpa_supplicant.original
To open and modify the wpa_supplicant.conf file:
sudo nano /etc/wpa_supplicant/wpa_supplicant.conf
and add the following lines at the end (there might already be other lines added by Raspi-config –- don’t remove them):
network={
 ssid="NETWORK_NAME" # required, keep the quotation marks
 psk="NETWORK_PASSWORD" # required, keep the quotation marks
 key_mgmt=WPA-PSK # required, WPA-PSK or WPA-EAP
 proto=RSN # optional, RSN for WPA2 or WPA for WPA1
 pairwise=CCMP # optional, CCMP for AES or TKIP for TKIP
 auth_alg=OPEN # optional, OPEN for WPA1/2 or SHARED or LEAP
}
The default optional settings will work in most cases, but read the # comments for custom settings. Comment out (using #) or remove the line to use the default setting. Press Ctrl + X to exit and Y to save the changes.
To remove the wireless network settings, simply remove all the network lines again and reboot the Raspberry Pi using:
sudo reboot
Configuring the Wi-Fi settings using the Raspbian GUI
As from Raspbian Jessie, the GUI offers a very easy way to configure the Wi-Fi settings.
The network configuration icon for Raspbain Jessie. This icon looks a bit different in Raspbain Stretch.
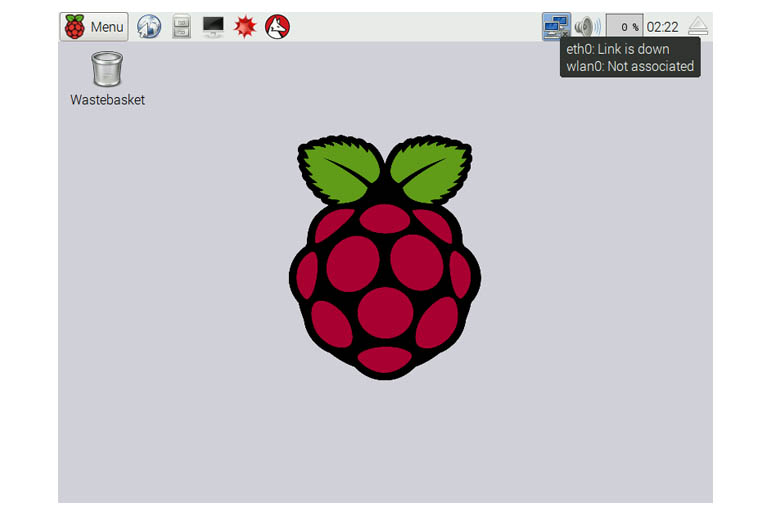
The network configuration icon is situated on the top right section of the GUI (next to the sound icon). By clicking on it, the available wireless networks will be selectable, after which the password (Pre Shared Key) will be prompted.

Raspbian Stretch GUI’s network settings icon is situated on the top right of the screen.
The configuration settings for wireless connectivity are stored in the wpa_supplicant.conf file. To remove the wireless network settings, see using the terminal commands mentioned earlier.
Configuring the Wi-Fi settings using the Raspi-config tool
As from Raspbian Stretch, the Wi-Fi settings can be configured using Raspi-config, the GUI and the terminal. Using the Raspi-config tool is an easy way (when compared with using the terminal) to configure the wireless settings using Raspbian Stretch Lite. The Raspi-config tool can be accessed using the following terminal command:
sudo raspi-config
To use Raspi-config from the terminal, the keyboard arrow buttons are used to move to the desired menu item and it is selected with the Enter key. The Esc key can also be used to cancel certain options and to exit Raspi-config.

The Raspi-config tool.
To change the Wi-Fi settings, go to Network Options -> Wi-Fi. From the menu, select your country, and enter the SSID (network name) and password. Once this is complete, Raspi-config will restart.
The configuration settings for wireless connectivity are stored in the wpa_supplicant.conf file. To remove the wireless network settings, see using the terminal commands mentioned earlier.
Configuring the Wi-Fi settings using the Raspberry Pi Imager
Another way to configure the Wi-Fi settings of a Raspberry Pi is by using the Raspberry Pi Imager tool while installing the operating system to a MicroSD card.
While writing an operating system on a MicroSD card, Wi-Fi settings can be entered under the Advanced options of the Raspberry Pi Imager. After the operating system has been selected, the Advanced options can be accessed by clicking on the gear icon.
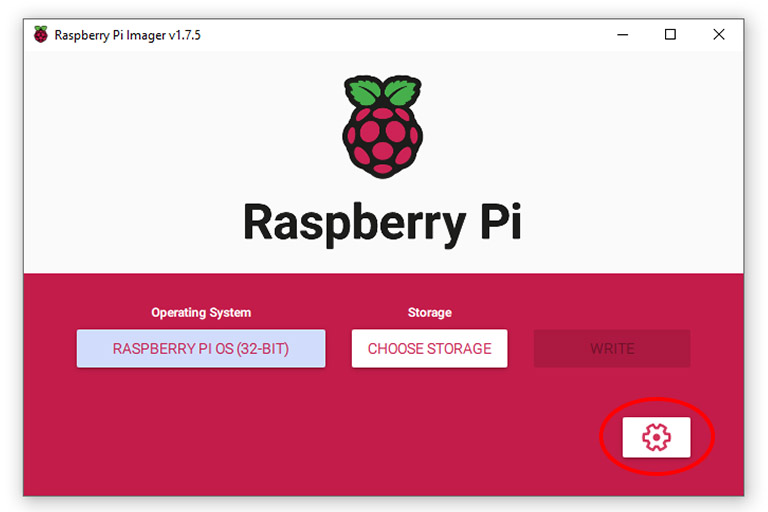
The Advanced options for an operating system can be accessed by clicking on the gear button of the Raspberry Pi Images after choosing an Operating System.
By scrolling down the Advanced options screen, options for wireless LAN can be accessed.

Raspberry Pi Imager Wi-Fi configuration section.
Conclusion
Here we showed how to configure a wireless network connection using the Raspi-config tool (Raspbian Stretch and newer), the Raspbain GUI (Raspbian Jessie and newer) and terminal commands (all versions). We also showed how to configure wireless network connectivity using the Raspberry Pi Imager tool.