

Taking a screenshot on a Raspberry Pi can be useful for many things. Here we show you how to take a screenshot on a Raspberry Pi from a remote location.
Table of contents
Introduction to taking a screenshot on a Raspberry Pi
Most operating systems, including Raspbian, have options to create screenshots by using the keyboard, but what if no keyboard is connected or the capturing process is too complicated? This post will show how to create a screenshot on a Raspberry Pi from a remote location.
A screenshot (also called a screengrab or screen capture) is a digital image of what is visible on the screen at that specific point in time. It includes everything that is displayed on the screen.
The easiest way to capture a screenshot on the Raspberry Pi (using Rasbian/Raspberry Pi OS) is by pressing the PrintScreen (or PrtScr) button on the keyboard, after which the capture will be saved as a .png file in the /home/pi directory.
In the case when the Raspberry Pi is used as a standalone device without any peripherals connected to it, the keyboard shortcut cannot be used. A popular solution is to make use of a remote system to trigger the screenshot command.
To be able to take screenshots from a remote location the Raspberry Pi needs to be connected to a network and the username, password, and IP address is required. SSH access to the Raspberry Pi needs to be available.
The process will be done using raspi2png and PuTTY from a computer connected to the same LAN. WinSCP can then be used to copy the screenshot files from the Raspberry Pi to another device. To install raspi2png a connection to the internet will be required.
- Get the CanaKit Raspberry Pi 4B 8GB Starter Kit from Amazon.com
- Get the GeeekPi Raspberry Pi 4B 4GB Starter Kit from Amazon.com
- Get the LG 22MK430H-B 21.5″ Full HD Monitor from Amazon.com
raspi2png
raspi2png is a utility with the purpose of taking a “snapshot” of the Raspberry Pi screen. It has been tested successfully with RetroPie and has been reported to work well for Minecraft screen captures.
After its installation, the raspi2png command will save a screenshot as a PNG file. The screenshot command is triggered on the Raspberry Pi itself using a terminal command, but because the command can be triggered from a remote location it can capture both GUI and terminal screens.
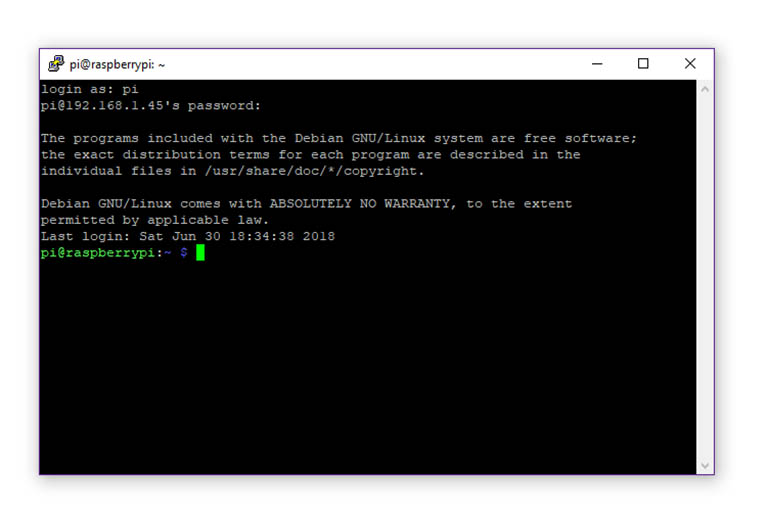
PuTTY terminal window in Windows 10 connected to a Raspberry Pi.
Installing raspi2png
The raspi2png utility and its dependencies are to be installed locally on the Raspberry Pi. The project files need to be downloaded/cloned from Github, after which the utility needs to be compiled.
The first step is to connect to the Raspberry Pi using PuTTY. After having terminal access to the Raspberry Pi, do an update/upgrade first:
sudo apt-get update
sudo apt-get upgrade -y
The following commands will install the git and the raspi2png dependencies:
sudo apt-get install libpng12-dev -y
sudo apt-get install git -y
It is recommended to download the raspi2png project files to the /home/pi/raspi2png — which will be created automatically. To go to the /home/pi/ directory, use:
cd /home/pi
To clone the raspi2png project files from Github, use:
git clone https://github.com/AndrewFromMelbourne/raspi2png/
To compile the project files, simply use the make command while still in the /raspi2png directory:
cd /home/pi/raspi2png
make
cd
Capturing a screenshot using raspi2png
If the make process was successful, a screenshot can captured by using the raspi2png command:
/home/pi/raspi2png/raspi2png
The screenshot is saved as snapshot.png. It is saved in the same directory as from where the command was triggered from. By default, the old screenshot will be replaced each time the command was triggered.
The location where the screenshot will be saved too can be set with the -p command-line option (see below).
raspi2png also has some handy command-line options which can be used to extend the functionality. From the Github page, the following command-line options are available:
Usage: raspi2png [-p pngname] [-v] [-w ] [-h ] [-t ] [-d ]
-p - name of png file to create (default is snapshot.png)
-v - verbose
-h - image height (default is screen height)
-w - image width (default is screen width)
-t - type of image captured
     can be one of the following: RGB565 RGB888 RGBA16 RGBA32
-d - delay in seconds (default 0)
The most useful are -p , and -d. For example:
/home/pi/raspi2png/raspi2png -d 5 -p "snap_01.png"
will create an image file called snap_01.png after a delay of 5 seconds, and:
/home/pi/raspi2png/raspi2png -p "/home/pi/snap_02.png"
will create an image file called snap_02.png in the /home/pi directory (irrespective of where the directory the command was triggered from).
Copying screenshots to a remote location
Captured screenshots can be renamed and copied to a different location using WinSCP.
Conclusion
In the case where no keyboard is connected, a Raspberry Pi screenshot can be taken by using raspi2png remotely using PuTTY.
Screenshot files can then be copied from the Raspberry Pi using WinSCP.