Visual Studio Code is a popular choice for coding projects. For those new to the platform, this post will assist in getting started with Visual Studio Code.
Table of contents
Introduction to VS Code
Visual Studio Code is a free, open-source code editor that is available for download and installation on Windows, Linux and macOS operating systems. Made by Microsoft, Visual Studio Code, or VS Code, has some exciting features and can be extended using community-based extensions.
The software is popularly used by web developers because of its lightweight, but powerful code editor. Its strength lies in its simplicity, with few features but less complex than the others available on the market.
On the Visual Studio Code website, they say that the software “is a streamlined code editor with support for development operations like debugging, task running, and version control. It aims to provide just the tools a developer needs for a quick code-build-debug cycle and leaves more complex workflows to fuller featured IDEs, such as Visual Studio IDE”.
For web developers, Visual Studio Code has built-in support for CSS and SCSS.
Note, as pointed out above, that Visual Studio Code is not the same piece of software as Visual Studio (Visual Studio IDE). Getting started with Visual Studio Code is much easier than with Visual Studio IDE.
- Get the ROCCAT Burst Pro PC Gaming Mouse from Amazon.com
- Get the LG 22MK430H-B 21.5″ Full HD Monitor from Amazon.com
- Get the Corsair K95 RGB Platinum XT Mechanical Gaming Keyboard from Amazon.com
VS Code features
As one would expect from a good IDE, Visual Studio Code is rich with practical features. Popular default features include:
- support for debugging
- syntax highlighting
- intelligent code completion
- snippets
- Auto text format (Alt + Shift + F)
- code refactoring
- multi-cursor selection (Alt click or Ctrl + Alt + ↑ and Ctrl + Alt + ↓
- embedded Git
- file and directory context menu functionality (right-click and open with…)
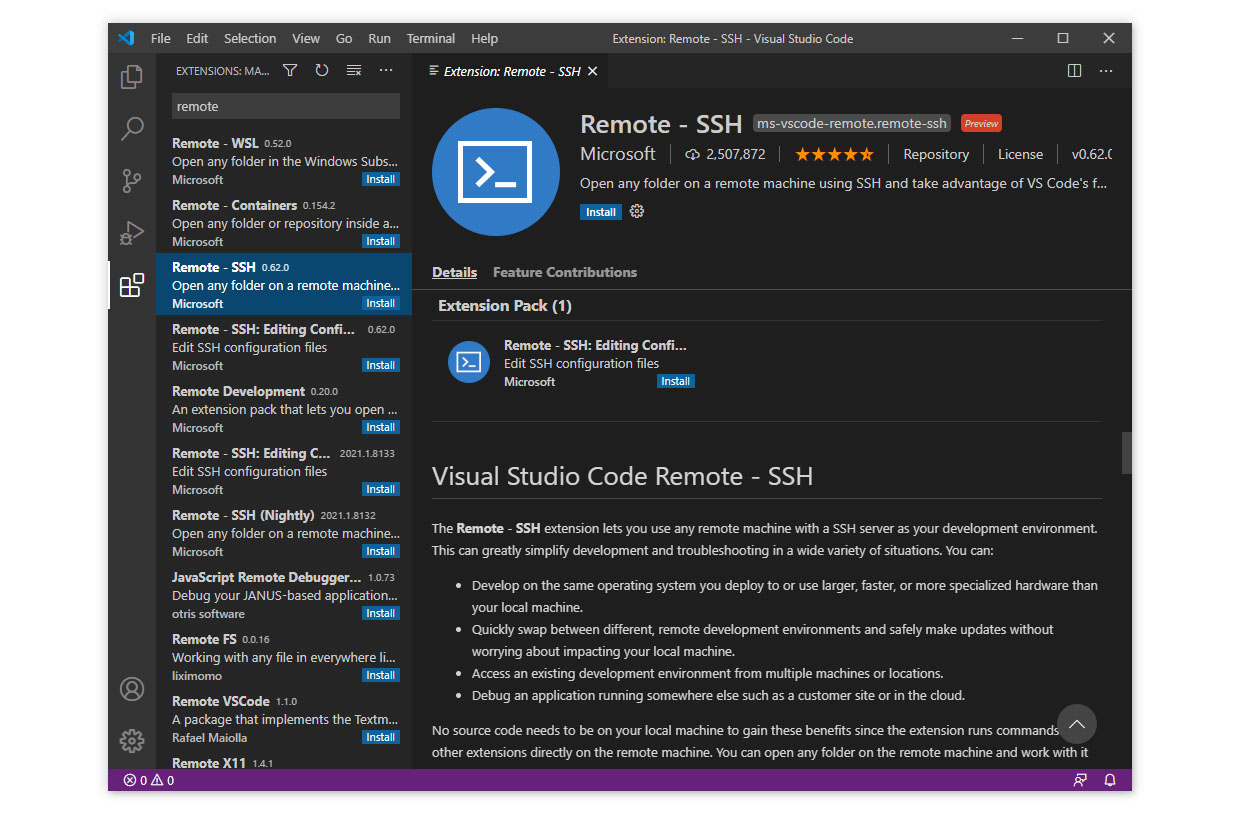
- remote connections can be made using appropriate extensions
Syntax highlighting, debugging support and code refactoring make VS Code a good choice for new developers. Code can be debugged straight from the editor.
IntelliSense, or intelligence code completion, goes beyond syntax highlighting and autocomplete. It provides smart completions based on variable types, function definitions, and imported modules.
Multi selections, or multi-cursor selections, enable users to edit or change code faster.
Git support makes it possible to update, maintain and share code right from the editor. Working with Git and other SCM providers has never been easier.
The terminal can be toggled from any directory by pressing Ctrl and ~ keys on the keyboard.
VS Code coding languages
Visual Studio Code supports many programming languages — including HTML, CSS and JavaScript to name but a few. Built-in support also includes TypeScript and Node.js.
For programming languages that are not supported out of the box, one or more extensions are likely available.
Visual Studio Code’s rich ecosystem of extensions includes support for languages such as C++, C#, Java, Python, PHP, Go) and runtimes (such as .NET and Unity). When working with non-default code, VS Code will prompt to install recommended extensions or they can be installed manually.
Installing Visual Studio Code on Windows
Visual Studio Code is available for installation on Windows, Linux and macOS operating systems. The version used in the next few steps was 1.52.1 (64-bit).
After downloading and running the appropriate installation file, user permissions need to be granted and the software licence needs to be agreed to.
The next step is to choose the destination directory (folder) where the VS Code files will be installed. The default directory is intended to accommodate desktop devices that are shared with other users — in which case it will only be available for the user who installed it.
In order to be able to install VS Code in the Program Files directory, the installation file needs to be run as Administrator.
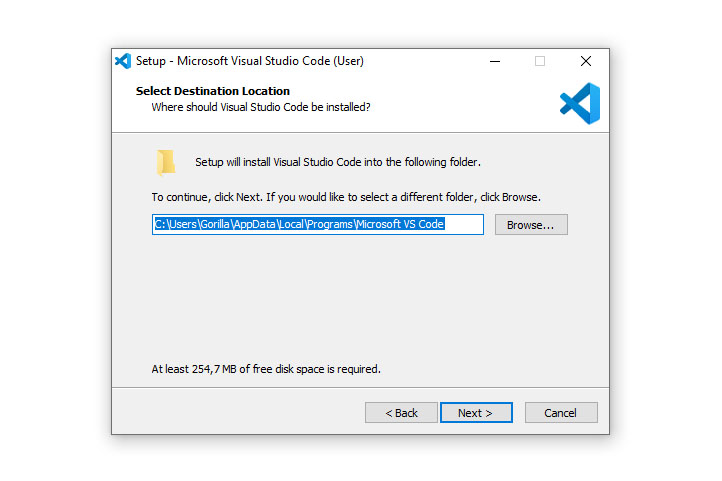
Visual Studio Code needs to be installed somewhere. The default installation filer in the Windows user’s directory can be used.
The version installed needed about 250 Mb of hard disk space.
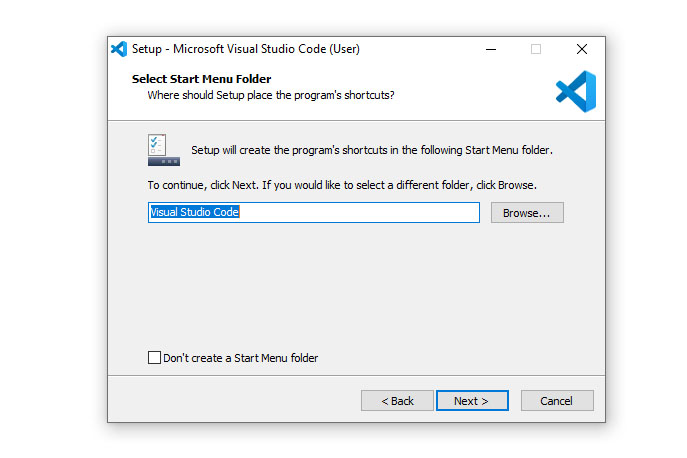
Now that Windows knows where the program files need to be installed, it would want to know whether or where the Start Menu folder needs to be created. This is completely up to you, but the default settings will suffice.
After that, the installer will prompt for additional tasks. Once again, the default settings will suffice, but I like to create a desktop icon and add Open with Code actions to the Windows file and directory menus.
After pressing the Install button, the Setup Wizard will conclude and VS Code can be opened.
The VS Code user interface
The first thing you’ll see after opening Visual Studio Code is the user interface (UI) with the Welcome screen in the Editor section. Each UI can be opened in what is referred to as a Window. The user interface is where everything will happen. Prompts and notices can be read and/or dismissed as required.
The Status bar is situated at the bottom of the UI and the Activity bar is on the left. At this stage, the Sidebar (usually situated between the status bar and the editor section) will be closed.
From here, workspaces, project files and directories (folders) can either be created, imported and/or cloned (using Git commands). Before being able to work with non-default programming languages and/or functionalities, additional extensions need to be installed first.
Installing VS Code extensions
Some coders like setting things up before they start working on projects. For Visual Studio Code, this might mean installing additional extensions.
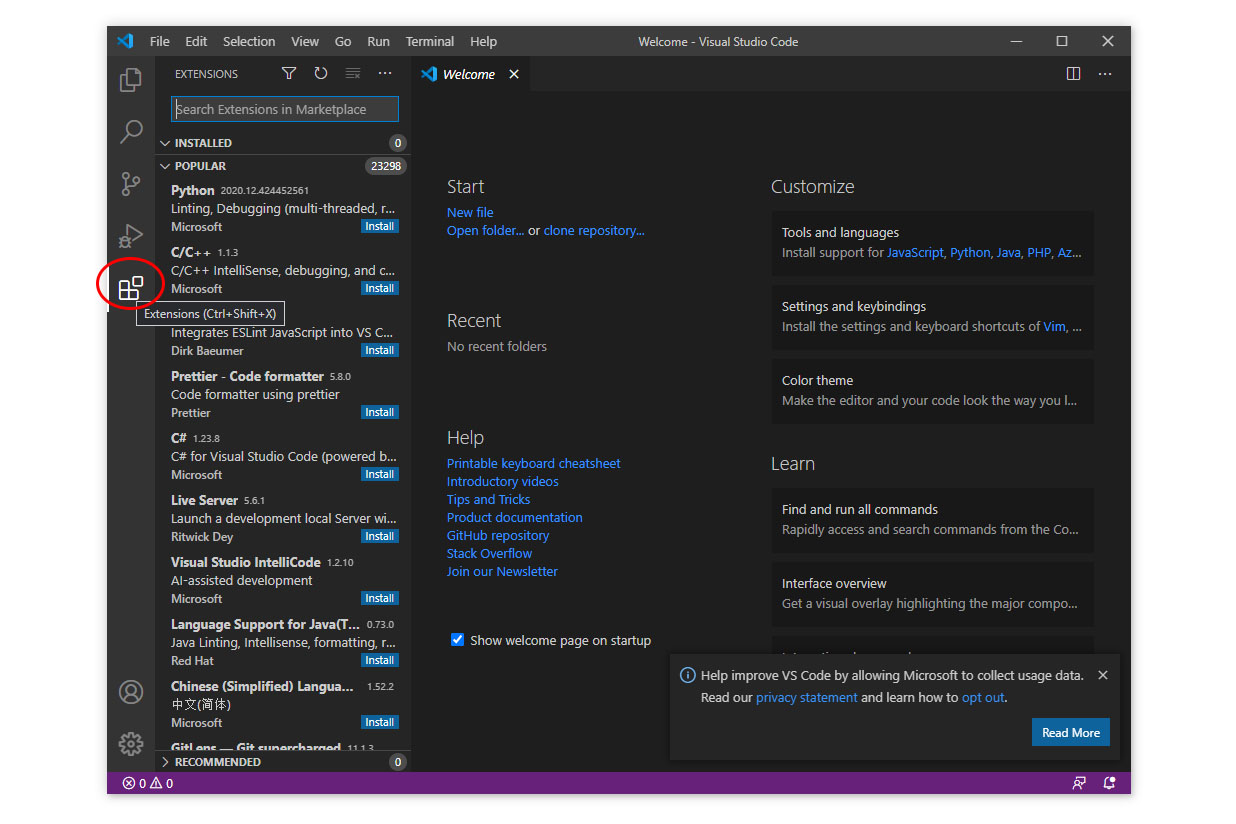
VS Code Workspace showing the Extensions sidebar. The extensions icon is located on the left-hand side of the IU at the bottom of the Activity bar.
By selecting the Extensions icon from the Action bar, the Extensions sidebar will open. Here you can toggle between installed and popular (non-installed) extensions.
Desired extensions can be chosen and/or searched for. More information, such as the description, version, number of downloads and star rating can be obtained by clicking on the desired extension.
Extensions are installed/uninstalled by clicking on their respective buttons.
Opening and creating projects in VS Code
After the required extensions have been installed, new projects can be created or existing projects can be imported. Projects (represented by files and directories) are managed using the Explorer sidebar.
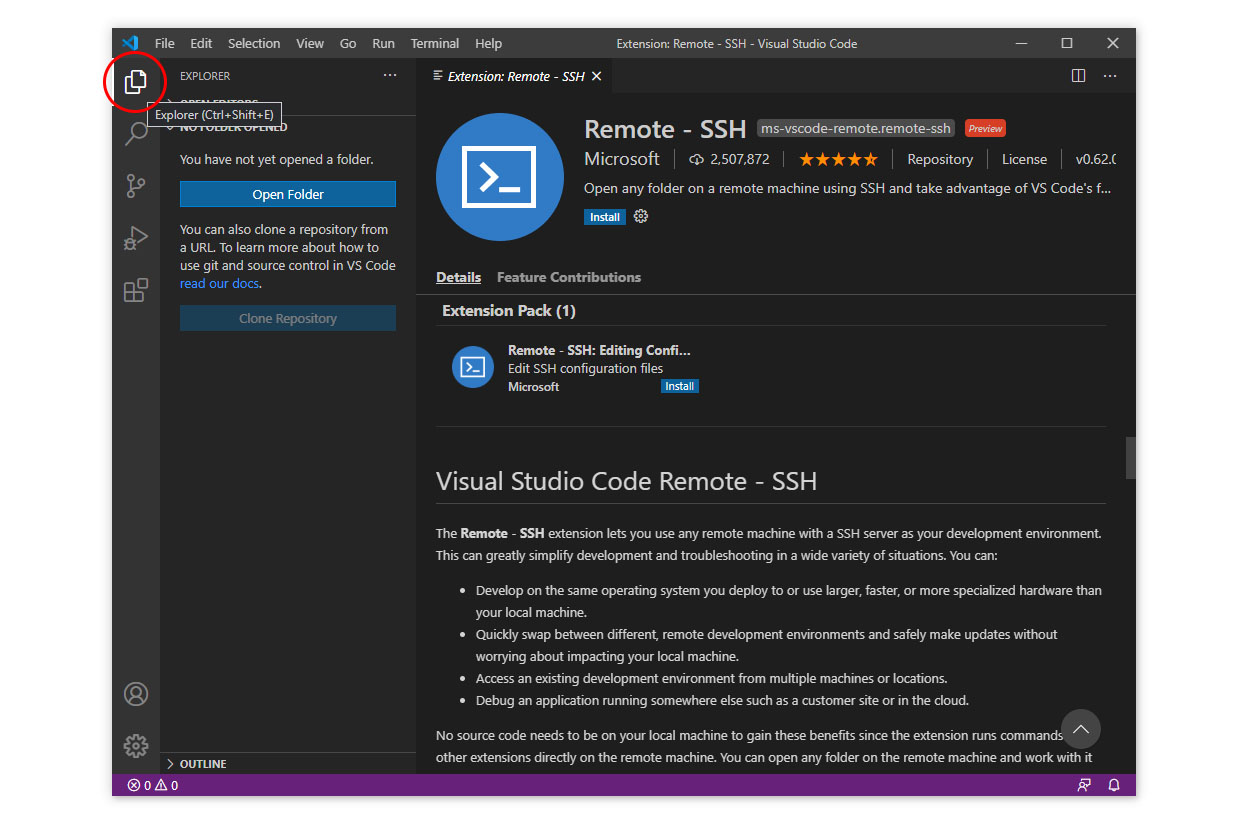
VS Code Workspace showing the Explorer sidebar. The explorer icon is located on the left-hand side of the IU at the top of the Activity bar.
Creating a new project in VS Code
To create a new project, a representing directory (folder) needs to be created first. This can be done from VS Code by pressing the Open Folder button situated in the default explorer area.
Project folders can be created anywhere, as long as they are situated on the local device. The Windows File Explorer can be used to create directories on the fly while selecting them.
After the project directory has been selected, new project files can be created by using the File-menu -> New File, the New file icon next to the opened directory or by pressing Ctrl + N on the keyboard. Files need to be saved (Ctrl + Shift + S) using with their appropriate file extension (e.g. .HTML, .js or .css).
New projects can later be imported again as existing projects. Projects can also be grouped into Workspaces.
Opening an existing project in VS Code
Previously saved or existing projects can also be imported into the Visual Studio Code Explorer. This can either be done by drag-and-dropping the desired file or project folder onto the Explorer sidebar, by pressing the Open Folder button situated in the default Explorer sidebar or by using the File-menu -> Open File…/Open Folder…
When a second project folder is opened, VS Code will ask to either create a workspace or to copy the second folder into the first one. If the second option is chosen, the second directory will literally be copied into the first one, even in the Windows file structure.
To be able to work with different projects separately, project folders should rather be opened in separate Windows.
Folders can be removed from the Explorer area by choosing File -> Close Folder. This will not delete the original files.
Creating a Workspace in VS Code
In Visual Studio Code a Workspace is created when a project consists of one or more root folders, along with all of the configuration settings. These include settings, recommended extensions and project-specific debugging configurations.
As mentioned earlier, VS Code will prompt to create a workspace when a second folder is imported using the Explorer section. After a Workspace has been created it can be saved and opened at a later stage again. The options for working with Workspaces (i.e. Open, Close and Save As…) are situated in the File menu.
Files and folders can be removed from a Workspace by right-clicking on the folder to be removed and choosing Remove Folder from Workspace from the dropdown menu.
VS Code settings
VS Code’s settings can be accessed through File -> Preferences -> Settings.
Conclusion
Visual Studio Code is a great piece of software for creating smaller code projects. It is available for all major operating systems and is easy to install and use. Although the basic functionality is limited (which is considered its appeal), it is quite powerful and can be extended using a plethora of extensions.

