Python is a great programming language for beginners. Here we show how to get started with PyCharm, an IDE for Python and Scientific development.
Table of contents
Introduction to PyCharm (for new Python developers)
To start programming with Python, you will need the appropriate coding software. Technically, with a bit of knowledge, any basic text editor can be used to program Python. More popular than text editors these days are IDEs (integrated development environments). Of course, it depends on the IDE used, but they offer additional features such as text highlighting, error checking, auto-correction, etc.
PyCharm, a product of JetBrains, is such an IDE. It is available for Windows, macOS and Linux operating systems. This post will work with the Windows version. PyCharrm has a Professional, paid version, with a full set of features for programming and, a lightweight, but free, Community version — which is perfect for beginners.
JetBrains also offers PyCharm Edu, which offers a more stimulating learning environment for learners and teachers. In this post, we will be using the PyCharm Community version.
The community version of PyCharm offers, among other things, colour coding (syntax highlighting), autocomplete, error checking, best practices and a terminal (e.g. for installing pip packages from pypi.org and running other commands). PyCharm also has the ability to work with HTML and CSS code.
Other options for new Python developers, probably among many others, include Raspbian (on the Raspberry Pi, Eclipse IDE and Geany.
- Get the ROCCAT Burst Pro PC Gaming Mouse from Amazon.com
- Get the LG 22MK430H-B 21.5″ Full HD Monitor from Amazon.com
- Get the Corsair K95 RGB Platinum XT Mechanical Gaming Keyboard from Amazon.com
Installing PyCharm on a Windows computer
Before PyCharm is installed, the desired version of Python needs to be downloaded and installed first.
Installing Python on Windows
By default, some computers come pre-installed with Python, which will usually be Python 2.x. Python 2 is considered legacy, which means it is no longer maintained or supported. Python 2 and Python 3 are very similar but do have small differences when it comes to some commands.
Python 2 code cannot be executed in Python 3 and vice versa. While setting up the IDE, the version of Python installed (2 or 3) needs to be known. By repeating the installation process, multiple versions of Python can be installed on the same computer.
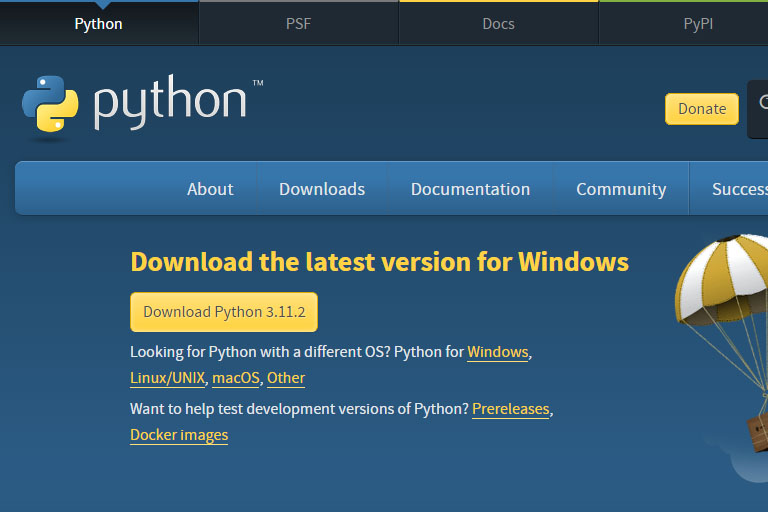
The Python download page is where the Windows installer for the latest version of Python can be downloaded.
Considering this, the Windows installer for the desired version of Python (version 2.x or 3.x) can be downloaded from the python.org Python Downloads page. At the time of updating this post, the latest version of Python was 3.11.2. 32-bit and 64-bit versions are available.
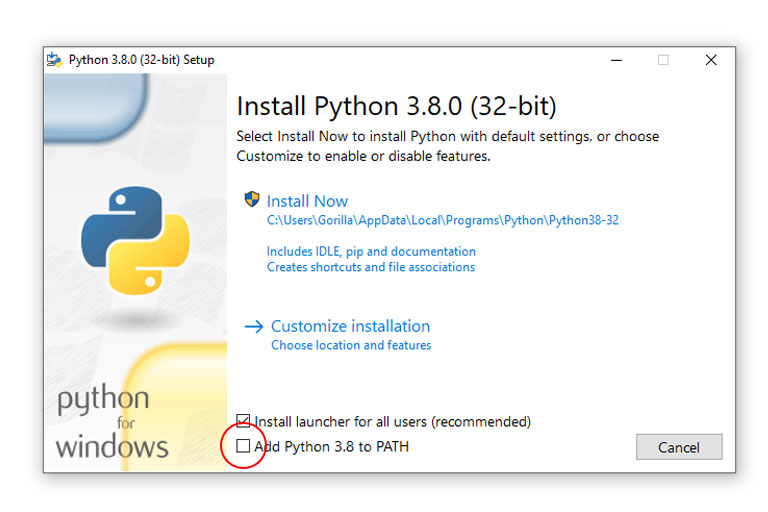
Simply use the Install Now option. During the Python installation process, make sure to check the ‘Add Python 3.xx to PATH’ option. All the other installation settings can be left to their defaults.
After the installation is finished, click the Close button and move on to installing PyCharm.
Installing PyCharm on Windows
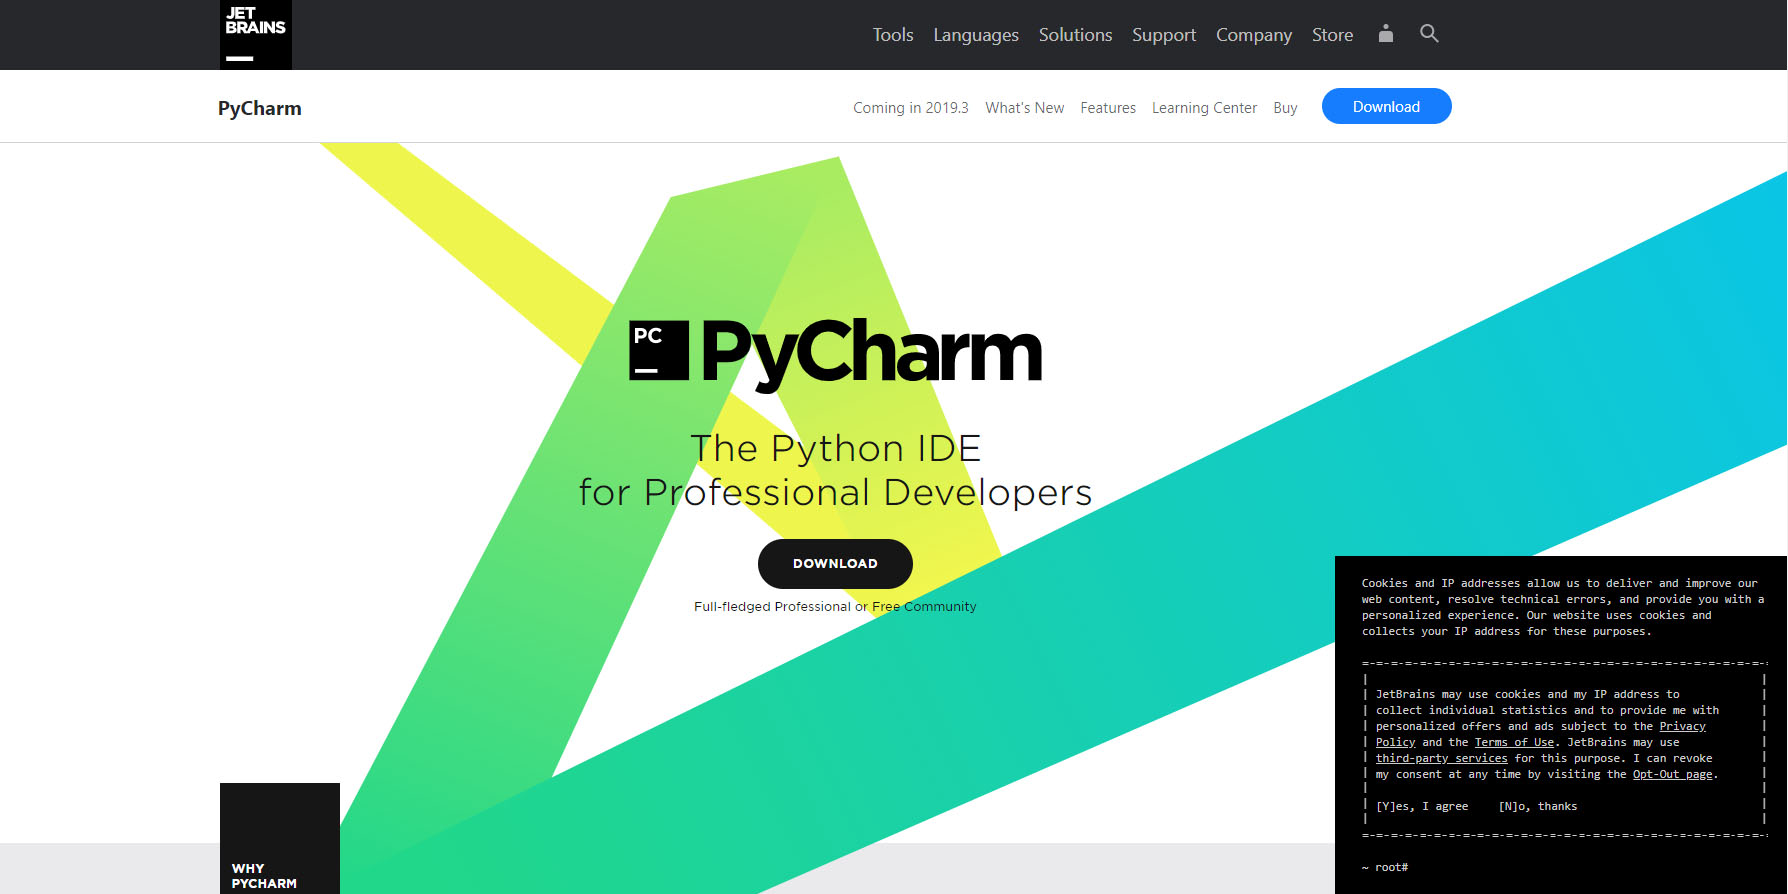
The Community version of PyCharm can be downloaded from the PyCharm download page on the JetBrains website.
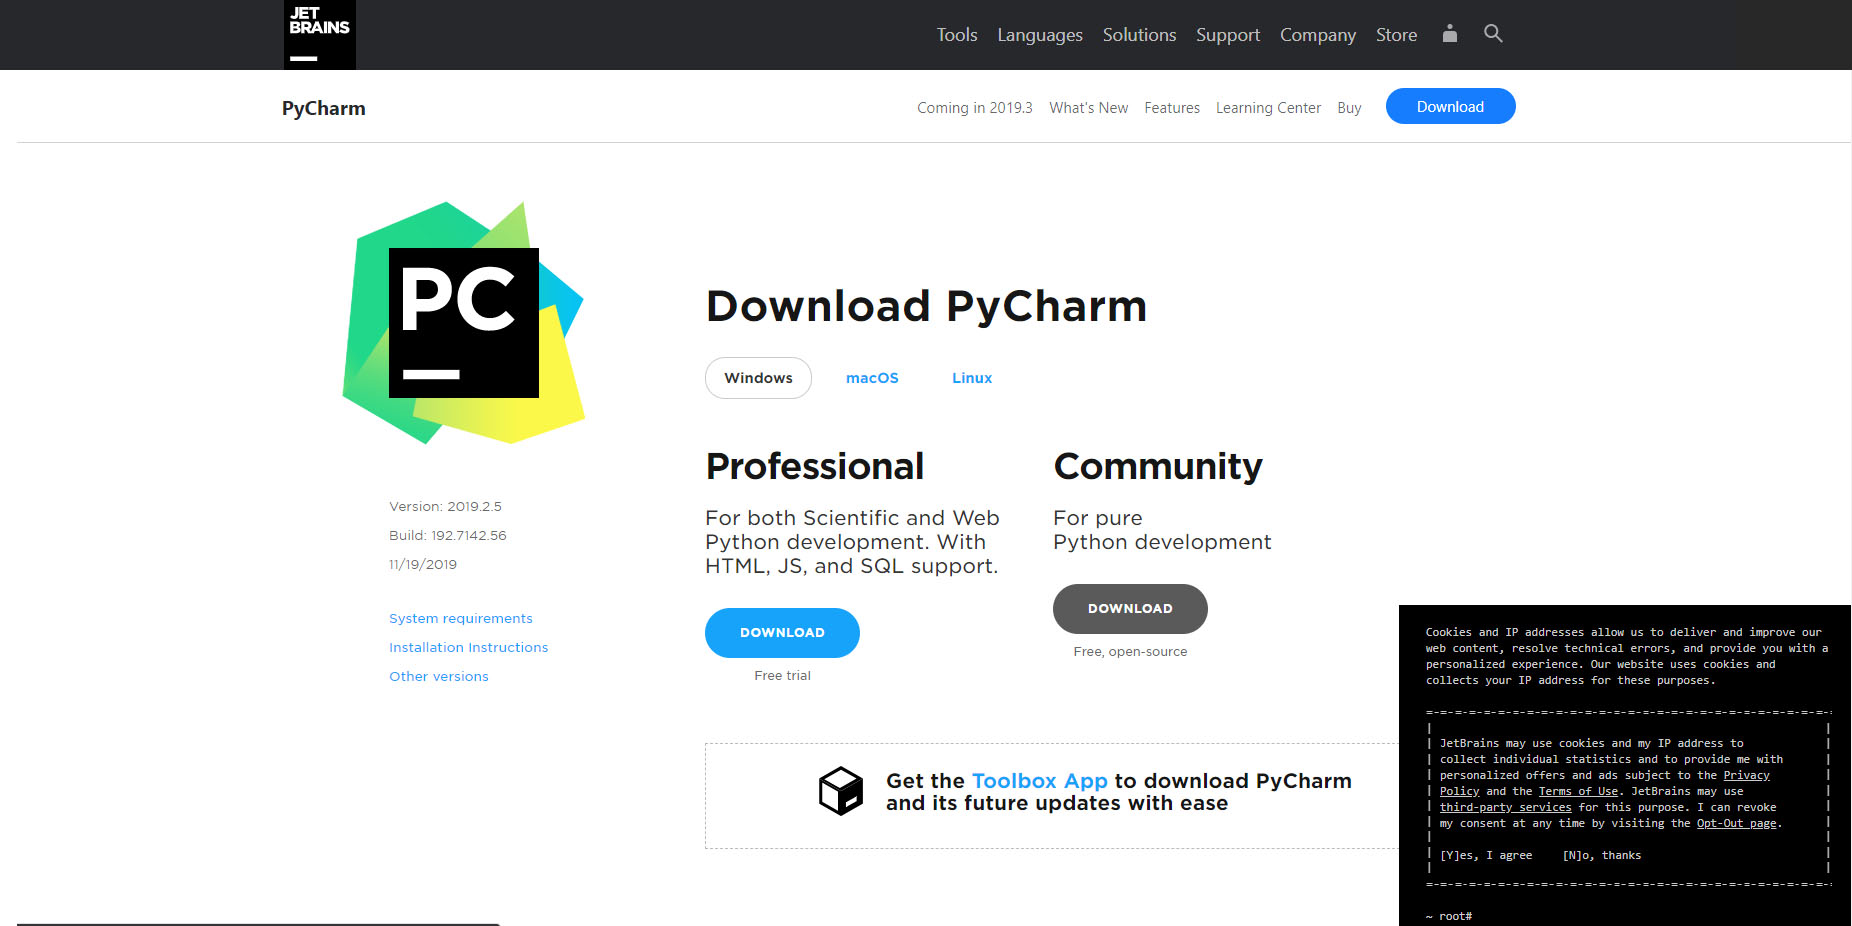
PyCharm download page. Here you can choose the version to download. In this post, we will be using the Community version.
At the time of writing, the PyCharm installation file is about 250MB and the space required is about 600MB. The installation file will start the PyCharm installation Wizard. Here the installation destination, desktop icons, etc. need to be set. If you’re not sure what you’re doing, rather leave all the settings to their defaults. After PyCharm has been installed, the Wizard will end off asking to open the application.
When PyCharm is executed for the first time, there will be another couple of once-off steps to be completed. Read the instructions carefully to choose the most appropriate setting, but if in doubt, stick to the default settings.
For beginners, rather do not add any featured plugins (e.g. IdeaVim and Markdown. After clicking on the Start using PyCharm button (or executing the application at a later stage), the following startup screen will appear:
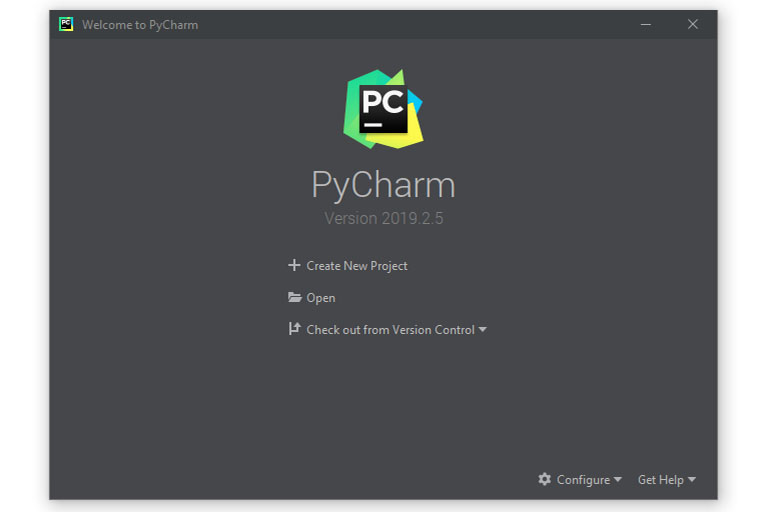
The PyCharm Welcome window. Here a New Project can be created, or an existing project can be Opened.
Creating a project with PyCharm
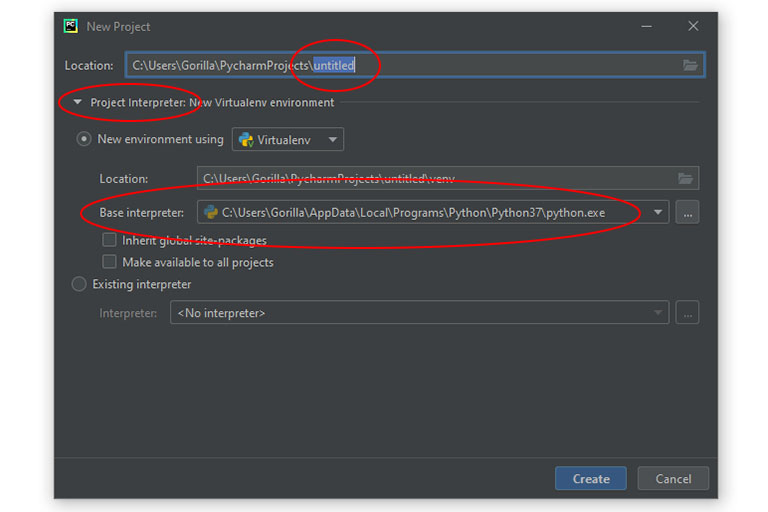
After clicking on the + Create New Project button, PyCharm will slide to the new project screen. Here, the location of the project and the interpreter needs to be set.
Make sure the Base interpreter is set to the desired version of Python (i.e. 2 or 3). This will in most cases be the version of Python that you downloaded prior to installing PyCharm.
The Python interpreter is basically a program, that knows how to execute Python code. It will interpret, or translate, Python instructions into instructions that a computer can understand. If you have multiple versions of Python installed on your PC, use the drop-down arrow to change the interpreter to the desired version of Python.
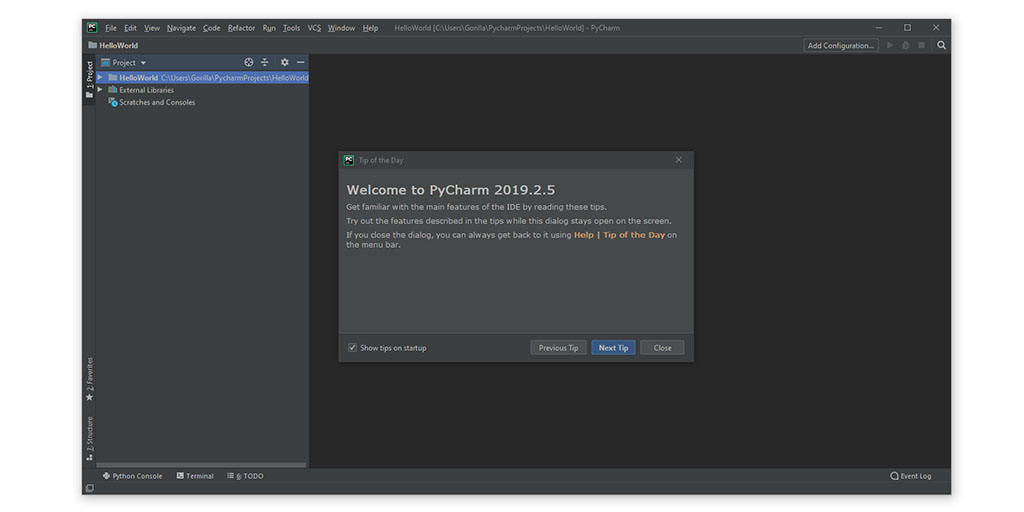
After clicking the Create button, PyCharm will build a virtual environment for the project. It will also offer some tips (which can be disabled for future projects). The Tips can be Close after going through them.
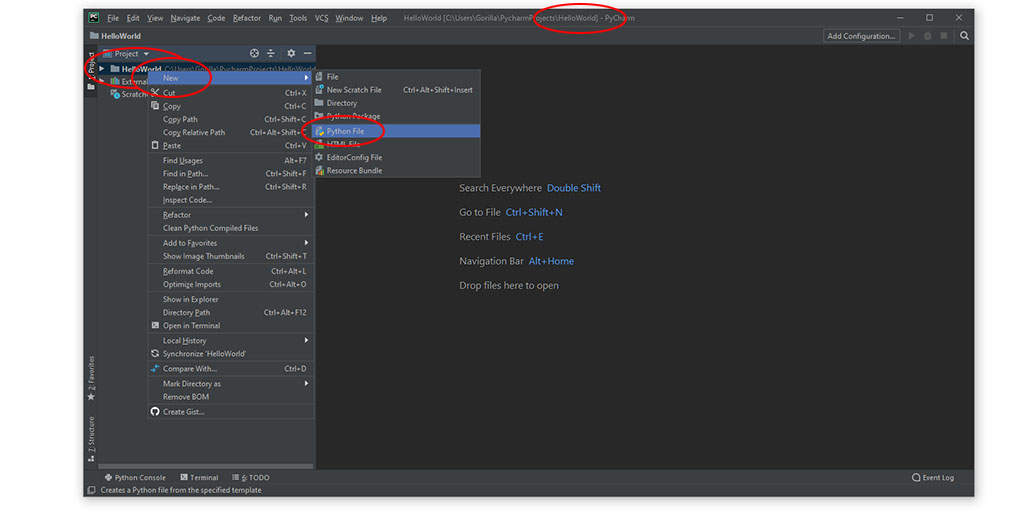
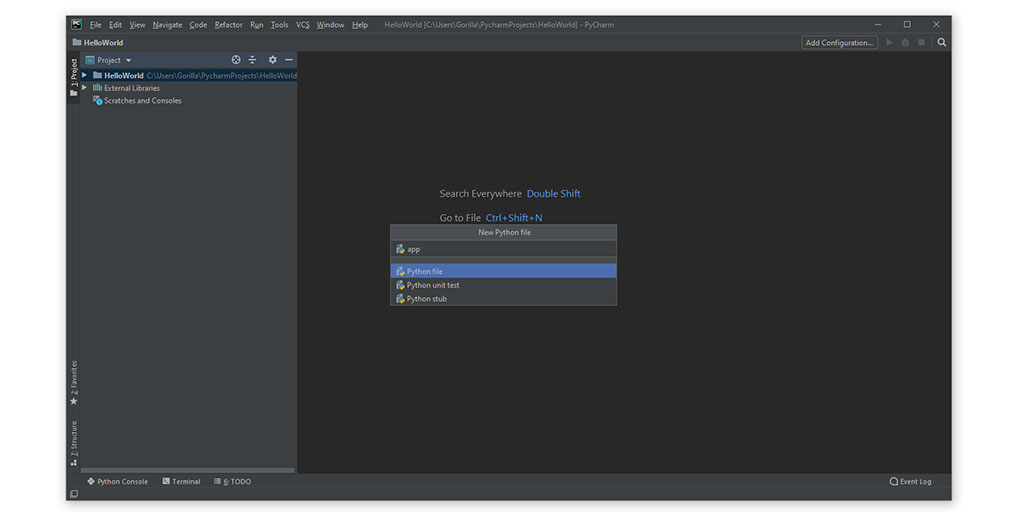
The main file types to be used when programming in Python and PyCharm is Python files. Python files have .py as their extension. To create a new .py file, right-click on the project name (in this case it’s called HelloWorld, select New and then Python File.
A New Python file popup will appear. Use this to give your file a name and press on Python file.
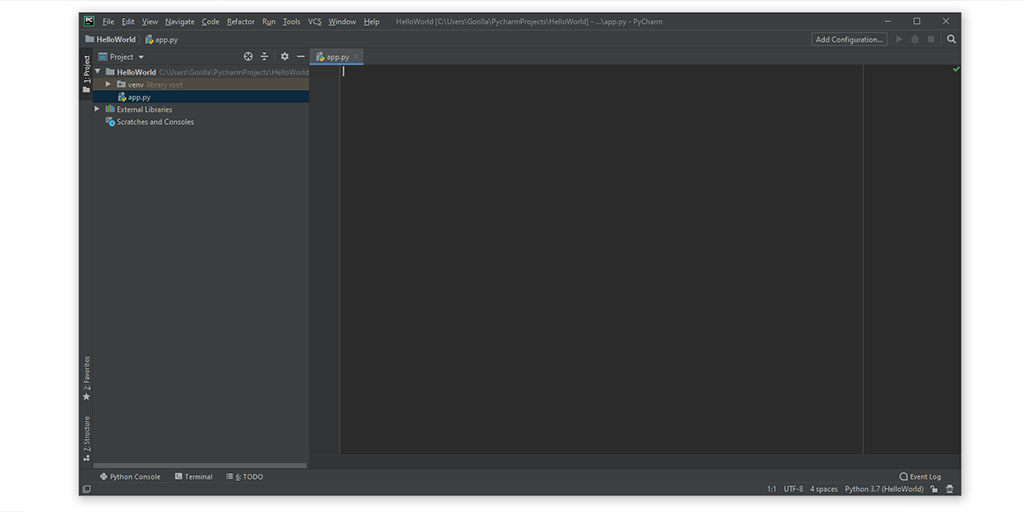
In this case, a file called app was created. The .py extension is created automatically. After creation, the file will automatically be opened for editing on the main screen of PyCharm. It will also be listed under the project name that was created earlier.
By using the same process, more Python files can be created/added to the project at a later stage.
Hello, world
To test PyCharm’s new Python environment, get started with "Hello, World". After creating a new Python file (see above), the following code can be added to a Python file (in this case app.py):
For Python 2.x use:
#!/usr/bin/python
print "Hello, World!"
and for Python 3.x use:
#!/usr/bin/python3
print("Hello, World!")
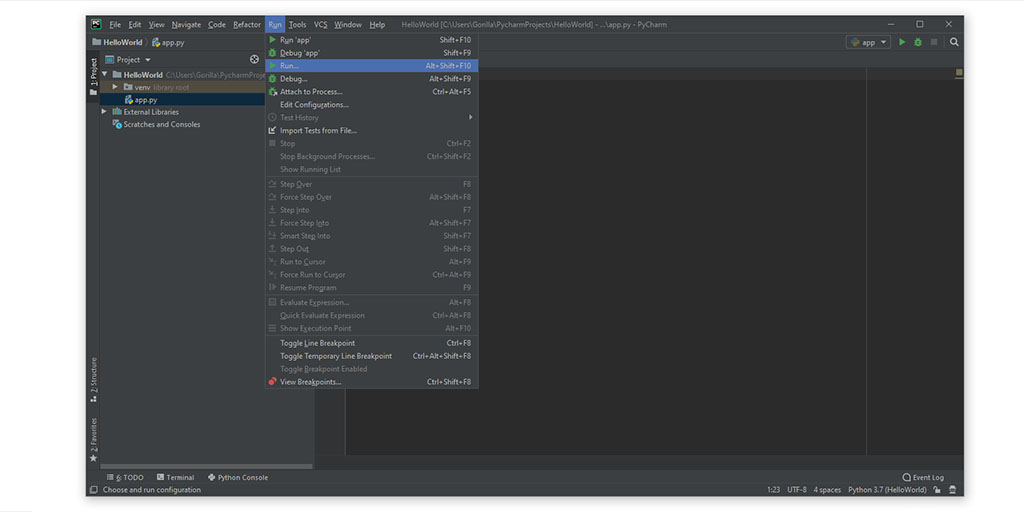
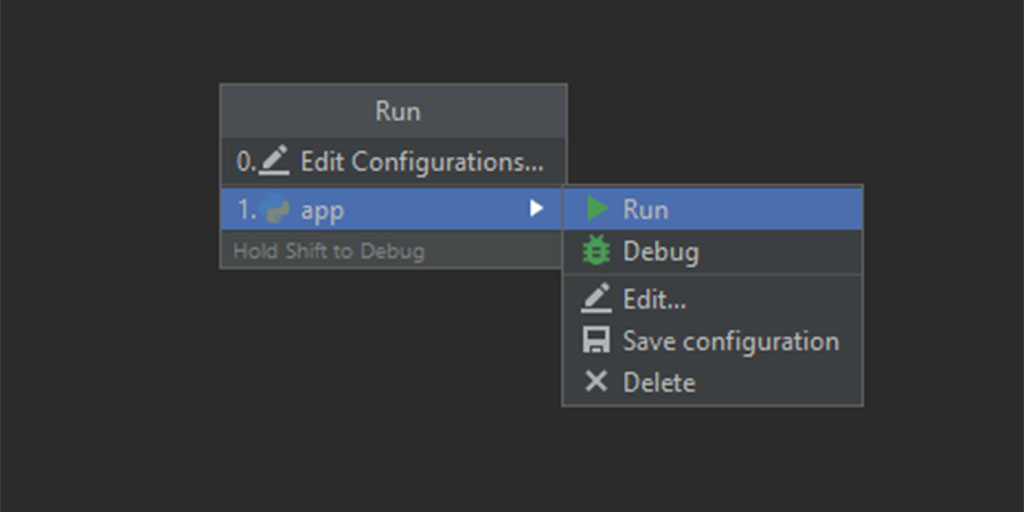
To run the Python code, Choose Run from the top menu and then Run… Another popup will appear. Either click on the Python file (in this case app) or on the right arrow and choose Run.
The code will now be executed at the bottom PyCharm’s terminal window, showing its results and any errors Python might have encountered.
The file will automatically be saved when it is closed. The File menu can be used to save the file as something else.
Conclusion
PyCharm is the perfect IDE for learning Python and for scientific development. Getting started with PyCharm showed new Python developers to get going with their first project.

