Eclipse is an open-source IDE used for computer programming. Through can turn Eclipse into a multi-language programming software application.
Table of contents
Introduction to Eclipse IDE for web developers
Eclipse is an open-source integrated development environment (IDE) used for computer programming. It is very popular for developing Java applications, but through plugins, Eclipse can be turned into a multi-language programming software application. Eclipse is free-to-use and has all the features one would expect from any proper IDE.
It is also popularly used for website development using PHP, HTML, JavaScript and CSS, but support for other programming languages, e.g. Python, can easily be added. Aptana Studio 3, which is even more web development-friendly, can be installed as an add-on to Eclipse.
This post will introduce and give a bit of background on Eclipse IDE. It will also discuss some of its great features, the installation process on Windows (based on Windows 10), setting up your first workspace and project, how to set up a remote connection, install a terminal and how to update Eclipse IDE.
Features
Even though Eclipse is free-to-use, it has all the features one would expect from any proper IDE. Out of the box, Eclipse IDE has the following features:
- syntax highlighting (colour coding)
- content assist
- code formatting (Ctrl + Shift + F)
- code refactoring
- error checking
- code templates
- code navigation
- FTP connections to a remote server (through an addon — see RSE later)
Syntax highlighting, content assist, code refactoring and code formatting make Eclipse IDE a good choice for new developers.
Content assist gives hints and tips for tags and syntax and ad closing tags. Through their respective structured text editors, Eclipse offers support for HTML, CSS, JavaScript, JSP, XML and XSD. The structured text editor can be accessed by right-clicking on a relevant file name in Navigator or Package Explorer view and then clicking Open With and selecting the editor.
Error checking aims to detect and list possible bugs in code and code formatting allows all the code to be formatted with the correct spacing with keyboard shortcuts (Ctrl + Shift + F).
A terminal can be installed as an add-on (see later).
Eclipse for website developers
The default Eclipse download files include almost all the packages needed for PHP, CSS, JavaScript and HTML programming. To be able to connect to a remote website, the Remote System Explorer can be added (see later).
Eclipse for Python developers
Eclipse can be used with multiple programming languages, e.g. Python. Other options for new Python developers are PyCharm, a Raspberry Pi with Raspbian installed and Geany.
Installing Eclipse IDE on Windows
Eclipse is available for Mac OS X (64-bit), Windows and Linux (32 & 64-bit) operating systems. To use Eclipse (after it has been downloaded and extracted), Java needs to be installed (see later).
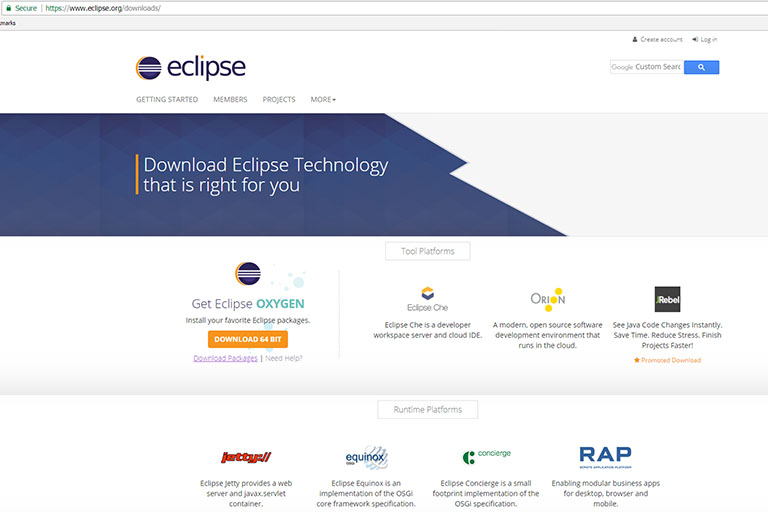
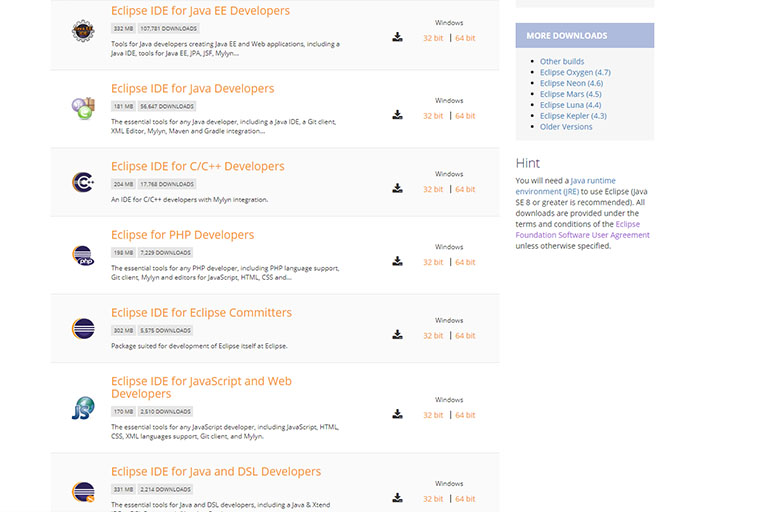
On the downloads page, under Get Eclipse 2019-09 (at the time of updating) -> click Download Packages. For the default version of Eclipse, choose Eclipse for PHP Developers (32-bit or 64-bit) -> Download. The file will download as a compressed zip file.
There is no need to run any installer. Eclipse is installed by simply extracting the downloaded file into a directory of choice (e.g. c:\eclipse). When it is no longer needed, the entire Eclipse directory can be deleted without running any un-installer. Multiple copies of Eclipse can be created and used on the same machine.
Installing Java
Eclipse needs Java RTE 8 or higher to function. It will also be needed to run, the newer, Eclipse installer. Whereas the Java Runtime Environment (JRE) is needed for running Java applications, the Java Development Kit (JDK, which includes JRE) software bundle is needed for writing (developing) Java applications.
For non-Java programmers, JRE 8 is recommended and will be enough. It can be downloaded from Java.com. If the 32-bit version of Eclipse was installed, the 32-bit version of JRE SE 8 will be required and if the 64-bit version was installed JRE 8 64-bit will be required.
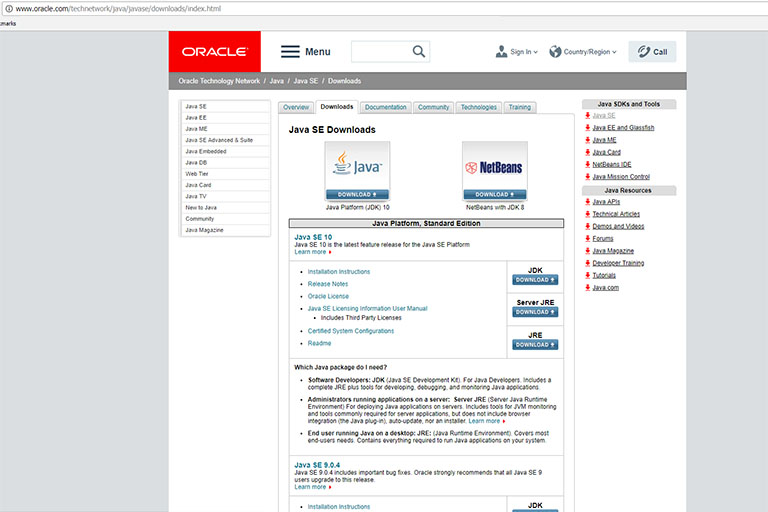
JDK and later versions of JRE can be downloaded from the Oracle’s Java section. From the Java SE downloads page, the required Java environment (JDK or JRE) can be selected after which you need to accept the license agreement and select the operating system distribution for download.
For Windows operating systems, the EXE-file will allow simple installation. A default installation of Java should be enough. Lately, you will need to create an Oracle account to be able to download some of their files.
 Creating a workspace and project
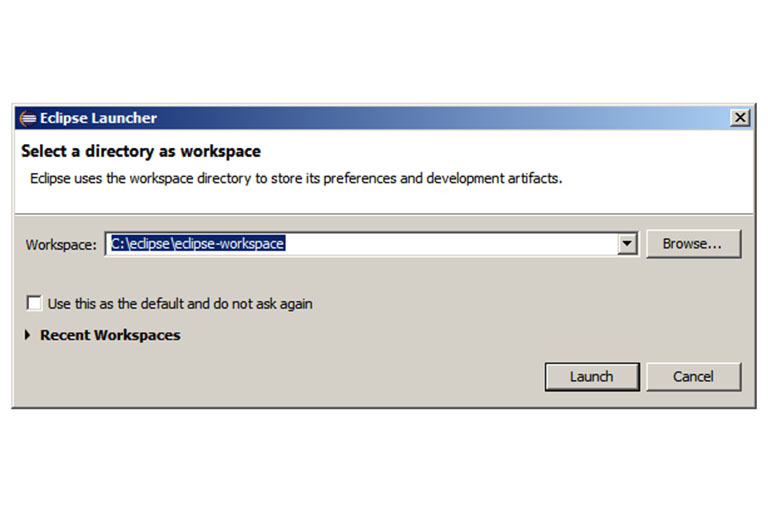
Upon opening Eclipse for the first time, a popup screen will ask for workspace instructions. A workspace is a concept used for grouping related Eclipse settings, related projects and related configurations pertaining to these projects. Workspaces are saved as individual directories.
In the case where a known workspace already exists, the Browse… button can be used to set its location, otherwise, a new workspace can be created. Multiple workspaces can be used.
By activating ‘Use this as the default and do not ask again’ Eclipse will automatically use this workspace in the future without prompting.
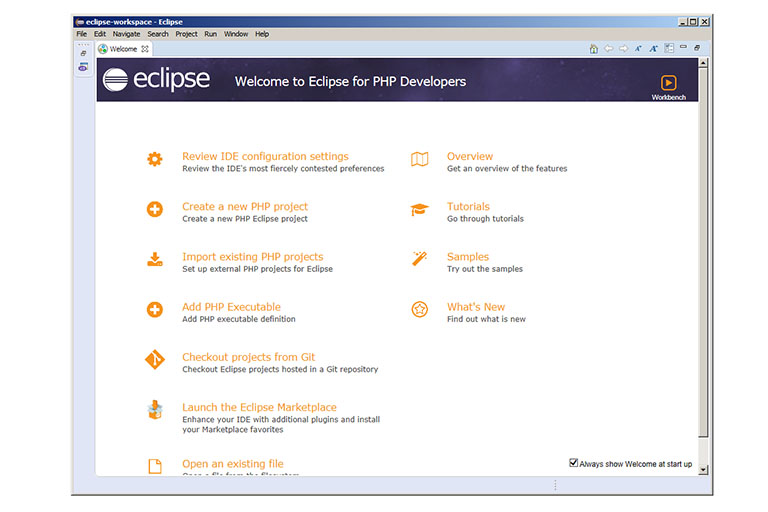
After the workspace has been determined, the Eclipse welcome screen will be shown with multiple options. From here, ‘Create a new PHP project’ can be selected.
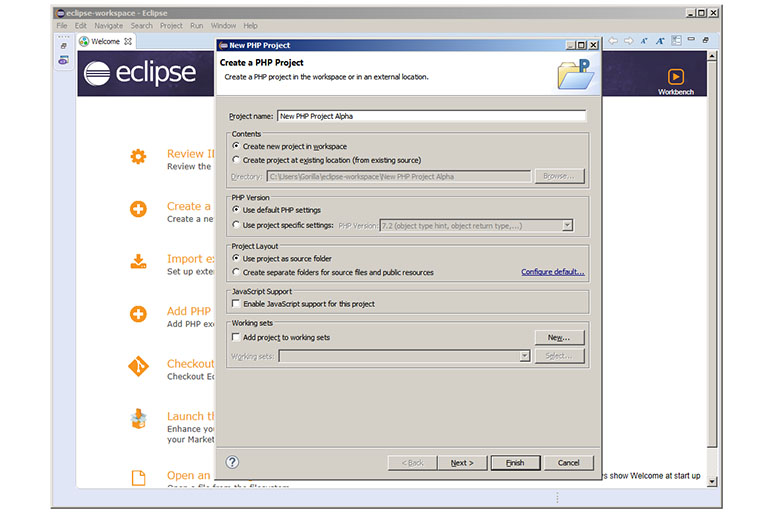
The ‘Project name’ will also be used to create a new directory. It can either be created in the same location as the Workspace, at a different location or, by selecting ‘Create project at an existing location (from existing source)’. Multiple projects can be created in the same Workspace.
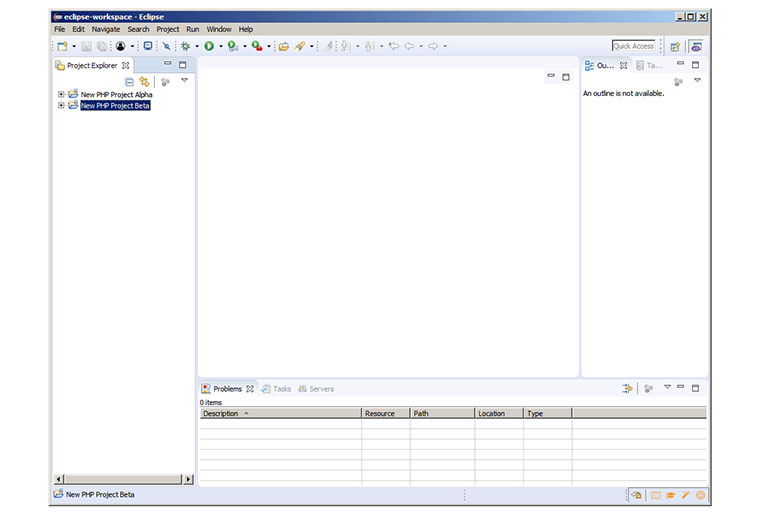
In this case, a new PHP project, named New PHP Project Alpha, was created with the default settings. The workspace will show all the created projects in the Project Explorer.
New files and directories can now be added to the project by right-clicking on the project name. The + button next to the project name can be used to toggle show or hide the view.
After closing Eclipse, the workspace will be saved automatically. To go to the chosen workspace’s Project Explorer from the welcome screen without creating a new project, click on the Workbench button.
Eclipse Remote System Explorer (RSE)
To be able to develop on a remote location, e.g. on a web server, Eclipse has, what they call, a Remote System Explorer. The RSE is installed as a plugin (see below). It is basically a separate explorer, similar to the Project Explorer, but with remote locations.
The RSE enables the use of FTP (among other connection protocols) to connect to remote websites. The RSE can also connect to a local network web directory via SSH or SFTP and can be used to do basic FTP commands such as copying, renaming and creating directories.
Installing the Eclipse Remote System Explorer
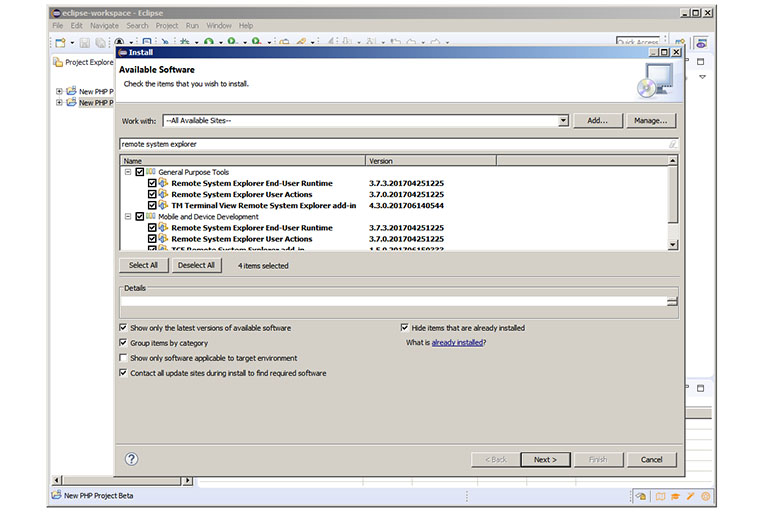
While in the desired workspace’s Project Explorer, choose Help > Install New Software. Under Work with: select –All Available Sites– Under filter, type “remote system explorer” and click on the Select All button.
Click the Next > button. Follow the on-screen instructions to finish installing the software. The RSE will now be available to use in all the workspaces that are in the install directory.
Switching to the Eclipse Remote System Explorer perspective
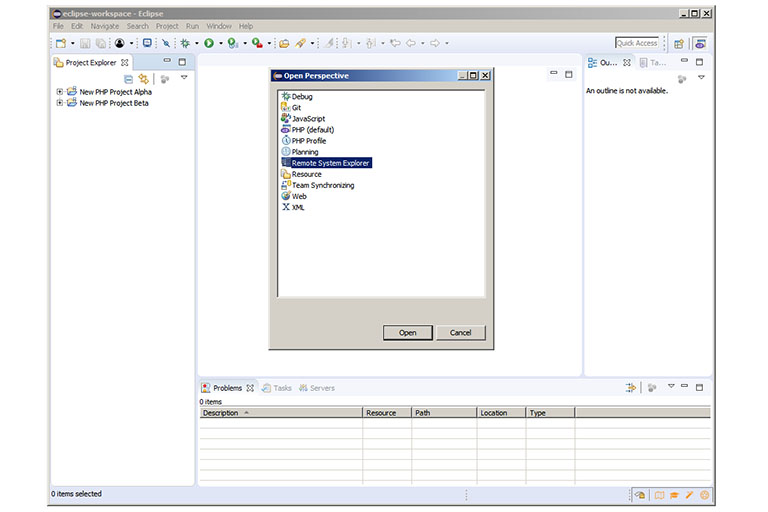
After the RSE software has been installed successfully, the Remote System Explorer perspective can be activated. Go to Window > (Perspective) > Open Perspective > Other > Remote System Explorer. This step only has to be done once. The perspective button is also available on the top right corner of the workspace.
After the Eclipse Remote System Explorer perspective has been activated, it can be viewed by choosing its icon on the top right corner of the workspace. To go back to the (PHP) Project Explorer, its icon can be chosen.
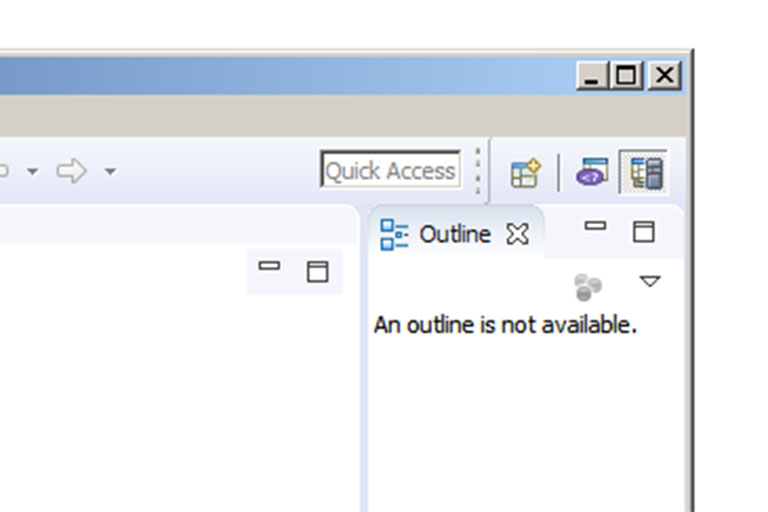
Open perspective, PHP (project) and Remote System Explorer buttons on the top right corner of the Eclipse workspace.
Creating a new remote connection
From the Remote System Explorer, new connections can be created by right-clicking in the Remote Systems window, choosing New > Connection… Multiple remote site connections (accessible at the same time) can be created.
TS Terminal for Eclipse
As with the RSE (see above), an Eclipse terminal can be installed as a plugin.
Installing the TS Terminal for Eclipse
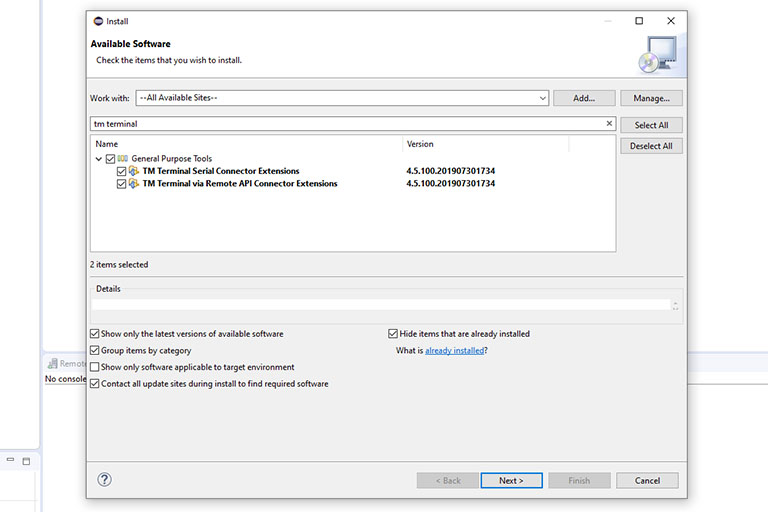
While in the desired workspace’s Project Explorer, choose Help > Install New Software. Under Work with: select –All Available Sites– Under filter, type “ts terminal” and click on the General Purpose Tools.
Click the Next > button. Follow the on-screen instructions to finish installing the software. After the terminal has been installed, Eclipse needs to be rebooted.
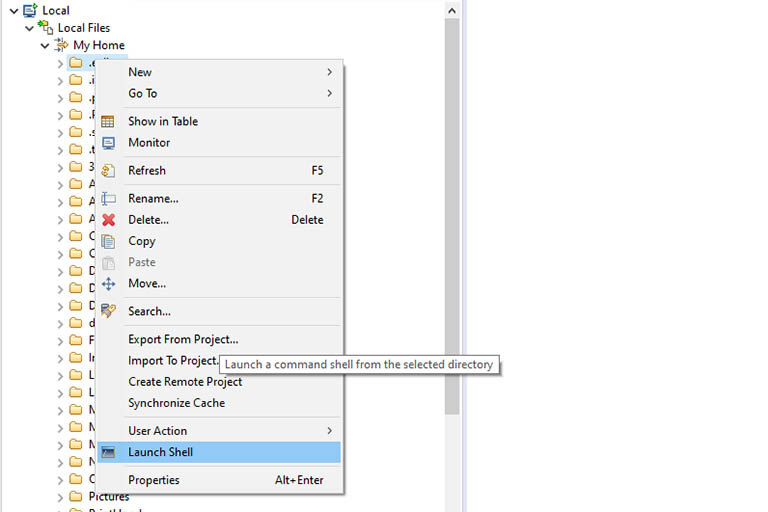
Directories within a local workspace can now be opened directly in the terminal by right-clicking on the directory and choosing Launch Shell towards the bottom of the menu.
Updating Eclipse
To update Eclipse to the latest version, select Help -> Check for Updates.


