When 3D printer space was limited my solution was to print a custom filament hanger. See how...
Table of contents
Introduction
Not having enough space to continue working on your desk area while 3D printing, or to keep on having to use old items to elevate 3D filament spools might be discouraging.
A 3D filament spool hanger can save a lot of space. Having a 3D printer, designing and printing your own filament hanger is fairly easy.
The aim of this project was to create a universal spool hanger that could be hung from a shelf close to the 3D printer.

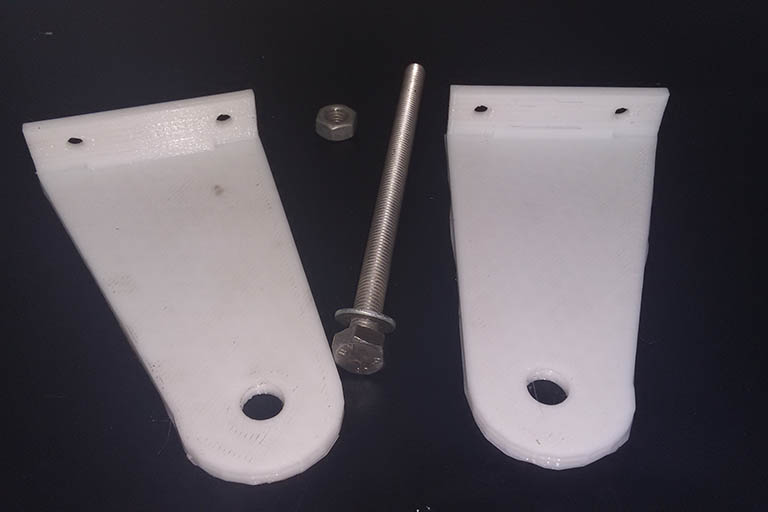
The final parts of the filament hanger — the hanger arms and a nut and bolt. Washers can also be used if required.
For a quick reference, also see the video on YouTube:
- Get the Creality 3D Ender-3 3D Printer from Amazon.com or BangGood
- Get the Trimming Side Cutters Wire Cutters from Amazon.com or BangGood
Tools and accessories used
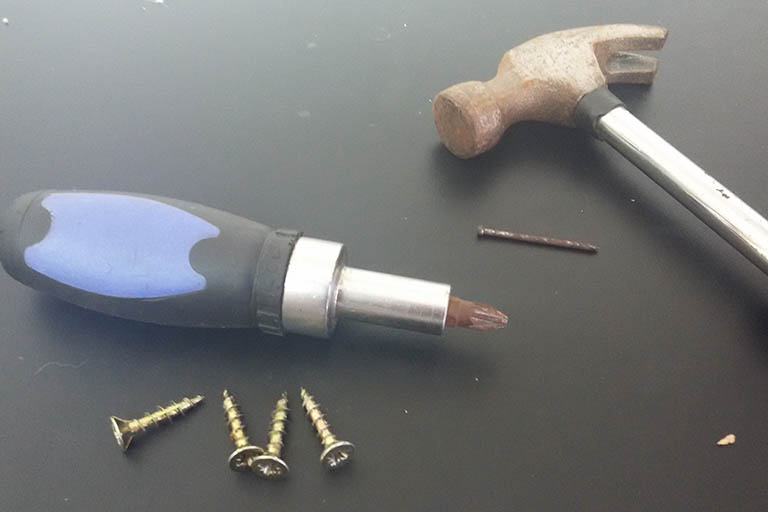
This is a simple project. Apart from the 3D printed arms and the shelf where it will be mounted, only a hammer, screwdriver, screws, a nail, adhesive putty and a bolt and nut were used.

Simple tools mainly to mount the filament hanger arms. They include a hammer, self-tapping wood screws, a screwdriver and an old nail. The screw holes are big enough for 2M to 3M screws. The length of the screw was chosen to be long enough to go about 1/2 way through the thickness of the shelf.
The hanger arms
The main items of this project were the filament spool arms. Things to consider were the thickness of the nut and bolt that I was going to use, the size of the wood screws, and the average size of a filament spool.
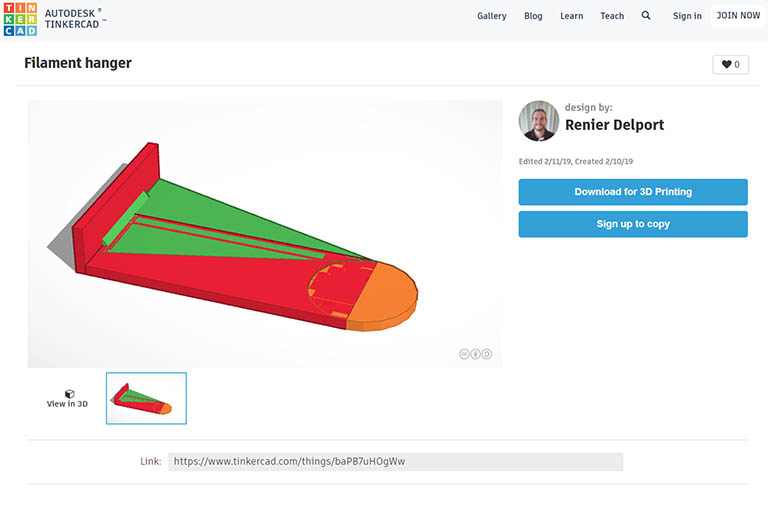
Measurements were taken, estimates were made and I jumped into Tinkercad.
I wanted to keep the design as simple as possible. The holes were estimated to be large enough for the bolt and screws to get through without having to damage the PLA. The length was estimated to be a little longer than the radius of the largest spool holder I had.
You can edit and download the 3D print file directly from Tinkercad. Please remember to like my designs in order to help more people find them.
Slicer settings
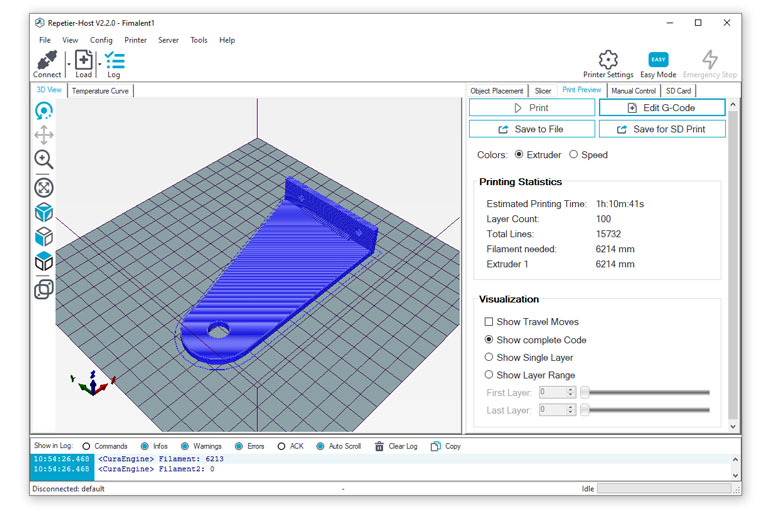
Two filament hanger arms need to be printed. One of the two arms needs to be mirrored using the 3D printer slicer software (I used Repetier-Host).

After the G-Code has been generated, Repetier-Host reported that the print has 100 layers with an estimated printing time of about 1 hour and 10 minutes. The amount of filament needed to print each arm of the filament hanger is about 6.2m.
On my TEVO Tarantula, each arm took 1h and 19 min to print. My default printer settings add rims around prints, so that needed to be cleaned.
Installing the hanger arms
Remember that the aim of this project was to have the filament spool out of the way while printing. In my case, I had to move the 3D printer to a location where it would be within reach of the spool while it was mounted to the bottom of a shelf.
I used adhesive putty to temporarily mount the arms in order to align them and make the holes for the screws. Initial screw markers were made by using a hammer and nail. The screws were pre-sunk before permanently mounting the arms.
Conclusion
A 3D filament spool hanger can save a lot of space. Having a 3D printer, designing and printing your own filament hanger is fairly easy.


