Getting started with SASS aims to make SASS slightly more appealing. It shows how to install SASS on Raspbian, Windows and macOS.
Table of contents
Introduction to getting started with SASS
SASS (Syntactically Awesome Style Sheet) is an extension of CSS. It is a scripting language where variables, templates (mixins), mathematical functions and many other functionalities can be used before it is converted to CSS.
Not everyone is a fan of the SASS, but at least some of its negative connotations can be removed by having an easy set of installation instructions. On top of this, some guidelines on how to improve the CSS/SCSS workflow and some auto-update functionality built into the development environment can be hugely beneficial.
This post was inspired while I was setting up a remote, live development server using Raspbian on a Raspberry Pi and VS Code. The installation for Windows and macOS is also discussed.
- Get the ROCCAT Burst Pro PC Gaming Mouse from Amazon.com
- Get the Corsair K95 RGB Platinum XT Mechanical Gaming Keyboard from Amazon.com
- Get the LG 22MK430H-B 21.5″ Full HD Monitor from Amazon.com
See if SASS is already installed
SASS commands are entered from a command-line interface (CLI). For Windows users, this can either be done using the Windows Command Prompt or MSYS2 (installed with Ruby). For macOS and Raspbian users, this is done using a terminal window. The terminal window of your favourite IDE can also be used. The terminal window on VS Code can be accessed by pressing the Ctrl + ~ keys.
To see if SASS is already installed on a system, the sass version command can be used:
sass -v
Installing Ruby on Windows
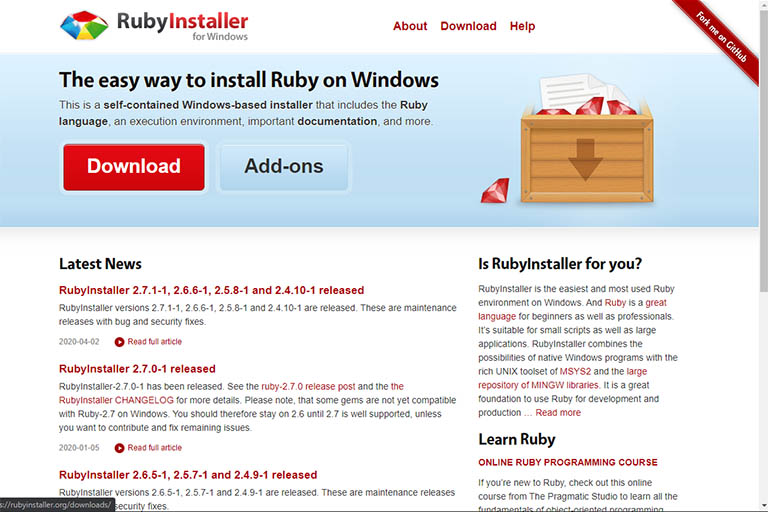
On Windows, SASS is installed as a Ruby gem. To install SASS, Ruby needs to be installed first. RubyInstaller is the easiest and most used Ruby environment on Windows.

Getting started with SASS on Windows requires Ruby to be installed. Ruby was in its third iteration at the time of updating this post.
After clicking the download button, the user will be given links for both the 32 and 64-bit versions. For those that want to, Ruby+Devkid can also be downloaded and installed. For the purpose of this post, only Ruby was installed.
For new users, keep all the default settings. During the RubyInstaller installation, the user will be also asked to Run ‘ridk install’ to setup MSYS2 and development toolchain. Keep this option selected.
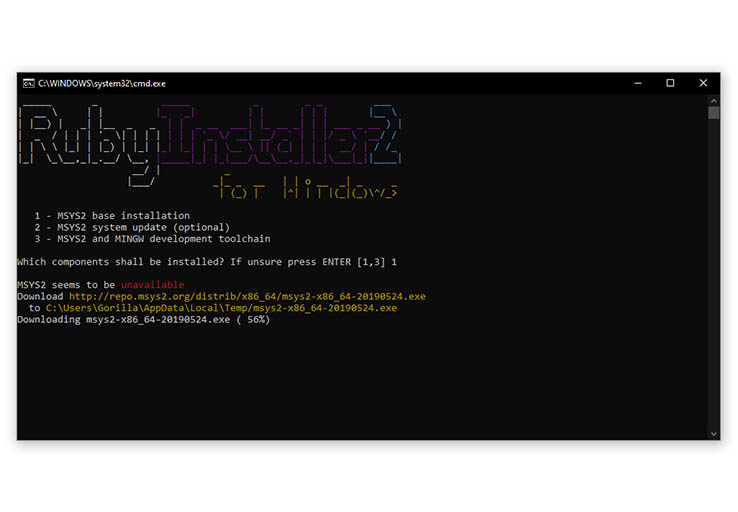
After the initial Ruby installation, a terminal window will pop up asking to install additional components. Choose 1 to continue installing MSYS2.
After both Ruby and MSYS2 have been installed, the RubyInstaller can be terminated/concluded by pressing the Enter key. Ruby and MSYS2 will now be featured in the Programs section of the Windows Control Panel.
(Ruby) SASS for Windows
After Ruby has been installed for Windows, SASS can either be installed using the MSYS2 terminal or the Windows Command Prompt using the following gem install command.
gem install sass
To update SASS to the latest version, the following terminal command can be used:
gem update sass
SASS for macOS
As with Windows, SASS is installed as a Ruby gem. At the time of writing, Ruby comes pre-installed on macOS. To install SASS on macOS, the gem install command is used with sudo privileges:
sudo gem install sass
To update SASS to the latest version, the following terminal command can be used:
sudo gem update sass
SASS for Raspbian (Debian)
For those using a Raspberry Pi as their development environment, SASS is available as an apt-get package. As with macOS, SASS is installed using sudo privileges:
sudo apt-get install sass
The SASS workflow
SASS is written as SASS language files with .scss (basically an S before CSS) as the extension. Although SASS is an extension of CSS, its output first needs to be compiled into ordinary CSS for web browsers to understand. Instead of writing CSS, the developer will write SCSS (in the .scss file) and do a compile to CSS (the .css file).
Compiling is done using SASS terminal commands. The idea is to have both .css and .scss files in the same development environment, but only point the browser to the CSS file(s).
Working from the project directory only
Let’s say the projects working directory is /project and it contains index.html and style.css. The index file will refer to style.css for its CSS styling. The simplest way would be to create the SASS file, style.scss, in the working directory too.
While the terminal cursor is in the working directory, the most basic form of the SASS command will look as follows:
sass style.scss:style.css
If style.css does not already exist, it will be created. Note the colon (‘:’) between the .scss and the .css files. This command tells SASS to compile style.scss to style.css.
Working from subdirectories
The SASS command can be extended to include relative directories too. This will significantly improve the organisation of a project.
Good practice would be to have the .css file in the /project/css directory and the .scss file in the /project/scss directory.
If the SASS command is executed from the working directory, it will look as follows:
sass scss/style.scss:css/style.css
In this example,style.scss is situated in the /SCSS directory and style.css in the /CSS directory.
Automating the process
In order to prevent having to repeat the SASS command over and over, the SASS --watch flag can be used:
sass --watch scss/example.scss:css/output.css
With this command, SASS will watch the style.scss file for saved updates and automatically update the style.css file.
Conclusion
Knowing where to get started with using SASS might make it a little more appealing for some (new) developers. The SASS framework is installed differently on different operating systems but is still easy to install.


